
Or of tragedy. I cannot be sure which it is to be until tomorrow when the paint has cured…Here is the tale of too much coffee and too much time to think.
The painting of a British camouflage pattern on a model of a WW II aircraft was always easy when I was a child. Brown, green and either light blue or black, depending on whether it was a fighter or a bomber. The paint was Humbrol gloss enamel and the brush used was whatever one that had not been solidified in the turps jar. I was satisfied when most of the paint stayed on the model and did not come off on my sweater. I long for that old contentment…
Nowadays I strain my paint, my pocketbook, and my nerves as I try to get the most authentic look for 1:72 scale. The hobby has evolved to airbrushing acrylics and masking camouflage patterns, and the masking is painful – I waver between different philosophies and experimental systems. I haven’t had this much fun since I started my own colour darkroom and gave myself asthma.
The holy grail of the British A and B paint schemes is even swooping curves in the authentic places with a miniscule soft edge between the colours. I have tried metal, rubber, tape, and paper masks, with side excursions to Silly Putty and even sillier foam. The things that work well are hard work and the things that are easy to do are crude. There are commercial products that promise perfect results but they cost perfectly horrendous amounts of money. So the quest goes on. I am starting to develop a sympathy for Don Quixote…
Todays experiment is based upon the fact that the Tamiya kit has a perfect diagram of the camo pattern that agrees with the illustration of the specific Mosquito I want to build. I thought it would be a shame just to cobble up a pattern when the research was all there. So I set about converting the Tamiya diagram to a mask.
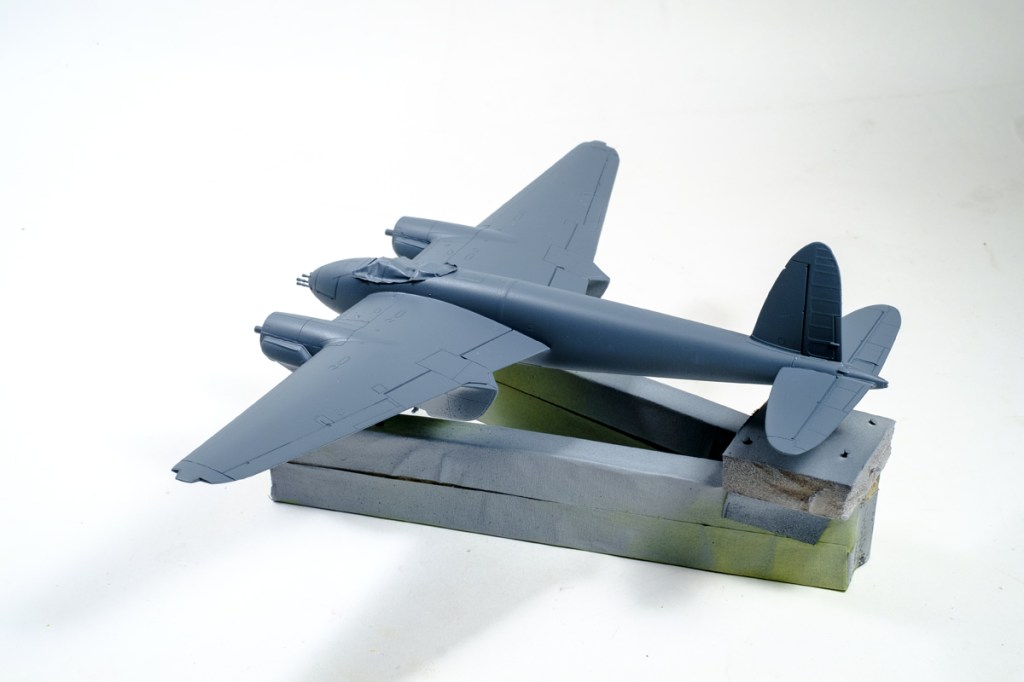
Of course the model got its base coat of grey primer and the dark grey upper works of British fighter camo. It was perched on the 1/2 Vast framework with pins into the nacelles. A self-sufficient unit that could be balanced and turned as needed.
 The first trick was to scan and lay out the diagram on the computer – the basic measurement of wingtip to wingtip was set on the screen and a stiff photographic paper copy was made. Then it was placed on the new cutting mat and the green section cut out with a very sharp layout knife.

The centre line of the fuselage was split and the pattern over the nacelles also bent up to allow the mask to drop over the airframe.

To keep the paper close – but not too close – to the model, double-sided sticky tape was placed inside it. The open section over the top of the fuselage was filled in with a little Uhu Yellow-Tak to continue the swooping pattern.

Then the assembly was propped in the spray booth in such a position that the paint stream was going to hit it at 90º from the top. The green paint went on well, and the thing is curing in the warm box right now. As the top will next be masked and the underside sprayed with flat black, it did not matter if there was a little overspray.
I cannot say whether it was more or less trouble in the end than the average masking with Blu-Tak rolls and Maskol. If it is any success at all it will suggest further experimentation. Some ideas will work, some will not.

Leave a comment