
I used The Dreaded Instrument on helpless victims for 40 years. Oblivious to the screams and the smell of burning flesh, I pressed onwards in a mad orgy of torture. The only thing that would stop me was the end of the day or running out of electricity.
In short, I was a dentist. And I got access to some of the niftiest little drills and grinders under the sun. I sold mine off when I quit practice, but have longed for an Electro-Torque motor and a contra-angle handpiece ever since for small modelling projects. But when You look up the price of Belmont, Siemens, or KaVo motors and handpieces the stark reality sets in – they are far too expensive for hobby use. Thousands of dollars far too expensive.
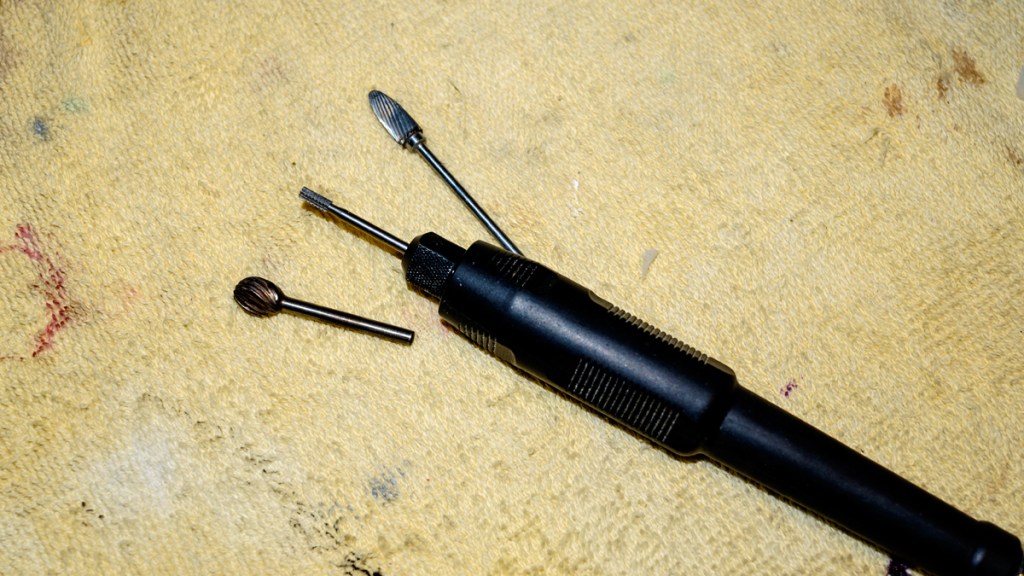
So I went the next best thing – the hanging motor. these were the staple of the dental laboratory and let us grind dentures, crowns, and bridges outside the patient’s mouth. They were expensive too, but nowhere near what chairside gear costs. And the advent of cheap Chinese electrical tools into the local Bunnings stores meant that eventually they released on I could afford – the Ozito handpiece and motor set. it was ridiculously cheap and probably would fall apart under trade use, but for a hobbyist who is skilled in lab work – magic.
The set of parts that came with the Ozito set has chucks that will accept Dremel bits as well as a smaller size that will take standard dental lab bits. I still have a few packets of these and it was to one of these I turned to discipline the Amodel Yak-3.
The pear or flame bur may seem overly large, but it has a fine cut and a gentle curve to it – as well as being true. It has already smoothed countless dentures so one more fighter plane was no problem. I just ran it carefully down the ill-fitting fillet until the wing seemed to flow into the fuselage.
Then it was filler time all over. Several applications, with a careful sanding between. Then Mr. Surfacer 1000 to check the contour and some more sanding. The result was good enough that the silver lacquer – the pot of paint that started this whole sequence – could be sprayed on in two coats. And it actually looked pretty good.
Apart from the fact that nothing is basically plumb or true anywhere on the flying surfaces, the model carries an impressive degree of detail in the riveting and scribing. This is more or less invisible until you shoot the silver.

Note the two reverse scoops just forward of the radiator housing. I have no idea what they do, but the instruction sheet said to put them there. Blame Yakovlev.

Leave a comment