
Throwing the colour switch in tabletop photography is a debatable point. Fortunately it is a question that need not be attended to as assiduously in the digital era as it would have been with film. We do not need to fuss with lamps and filters quite so much as before – it can indeed be fixed in Photoshop.
But don’t. If you want to have any time at all to eat, sleep, and play with the cat, try to get the photograph right in the camera before you download it onto the computer. Otherwise you will spend a sad lifetime in front of a screen pushing sliders back and forth.
Most 1940’s photography was taken, as we said, on black and white materials. There was a little colour work – overwhelmingly by professional teams – in Kodachrome A, Dufaycolour, and Agfacolor. The latter two are rare. There was also a little work done with tri-colour cameras and carbro prints but that was very rare indeed.
If you want to be safe, use your new digital camera with the menu set to RAW and medium jpeg setting. This will give you a good look at what you’ve got and the opportunity to alter it successfully if need be. Get an image editing program on your computer – my system has Photoshop, Lightroom, and Photoshop Elements. The two modern programs are a subscription-based set that allow me to do batch processing and cope with new cameras, but the bulk of the work can be done on Photoshop Elements. People bypass this program for the more complex one but many would be better served by it.
Whichever you use, you can generally link in subsidiary ” plug-in ” programs that alter images to simulate older film types. The Alien Skin or Nik filters will do this, and in some cases they produce brilliant evocations of the early colour films. I don’t hesitate to dial up Kodachrome A or Kodachrome II looks for aviation pictures – dependant upon the era.
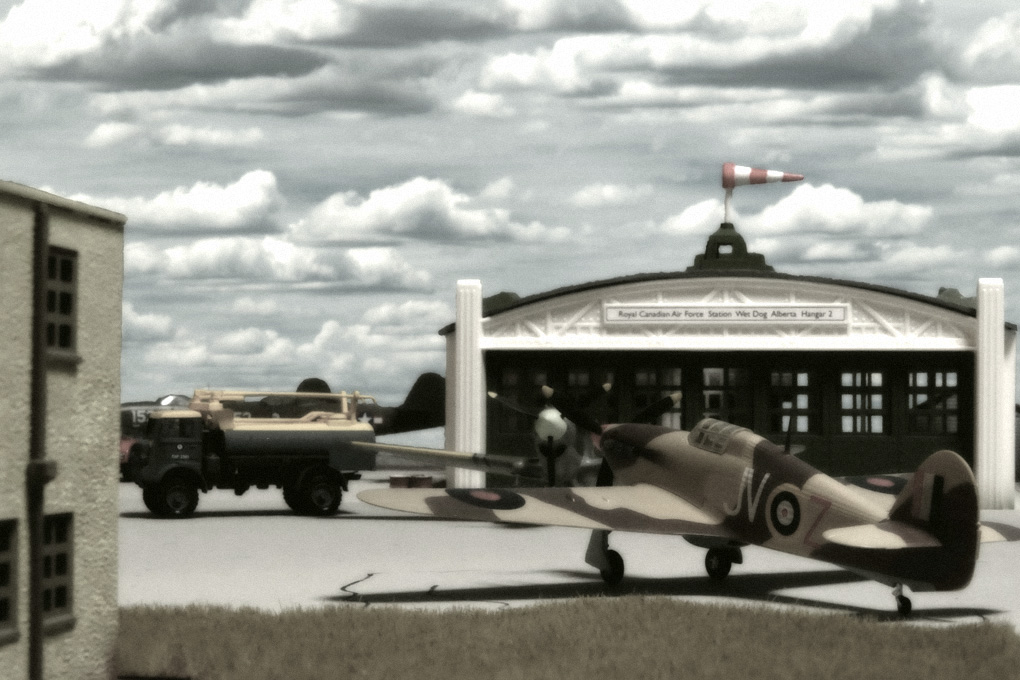
If you want to be really safe, set your camera to monochrome, possibly with a yellow or green filter simulation cranked in. This sort of setting lurks in many menus, and the fact that it will decolour the viewfinder or LCD screen image for you will aid in your composition and feeling of authenticity. If you’ve got a RAW image as well as the jpeg you can go back to colour at any time you like in the computer.
You can reach out to a lot of simulations with the plug-ins and add flare, light leaks, scratches, and frame borders. Some people over cook the egg and add everything to each image but it becomes tiresome. Be selective and use the effects to tell a story.

Leave a comment