
If I want to enjoy myself in the Little Workshop I can either fasten decals on a freshly-painted model or hammer nails into the back of my hand. Some days I am torn in an agony of choice…
It was never like this in the old young days – I just found the place on the Aurora model that had the outline of the Air Force insignia moulded into the plastic and did my darnedest to get the decal within those ridges. It was not as simple as you’d think but eventually you got them all down, and if they were still attached to the model in a month you could consider yourself a master modeller.
Those were the days when kids were kids and decals were decals. Both were tough….some of the Aurora and Monogram ones had the consistency of a bath mat. You could have torn a porterhouse steak in two faster than you could have torn a decal and in many cases the steak would have settled better onto the model.
Now it is agony of worry all the way; worry about silvering, tearing, register, folding, shifting, and whether or not the thing will drop down into every groove in the wing. Some makers give you two or three-part decals that have to be lain one upon another. I recently purchased a set of decals for a 1:72 Sabre jet that are printed in reverse and need to be put on entirely differently from anything seen before – and is that ever going to be a sweaty proposition!
So, like you, I have come to the decal setting solutions. And I have watched 45,000 YouTube videos of other people using them. I have looked at all the complicated formulae of paint layers, varnishes, floor polish, sanding sticks, and llama spit that people resort to. And i am learning by experience.
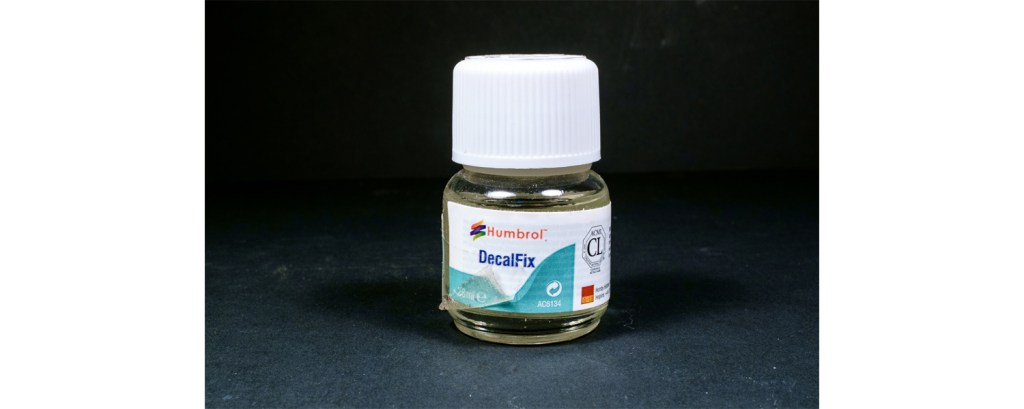
a. Decalfix from Humbrol is intended for use with their enamel paints and may be a fine product. it dissolves acrylic paint, however, and has no place in my Little Workshop.
b. Micro Set allows me to manoeuvre decals into position and slightly softens them for setting.

It can be even more effectively used if you dilute it with water to a 1:2 ratio – ” Decal Water ” – which means it’ll go a lot further. Save a brush exclusively for it.
c. Micro Sol takes over after the decal is in position and dried down. Brush in on gently, leave it to wrinkle and set, and then see if you need to redo it or poke holes in air bubbles..

All decaling goes better on a smooth paint surface but a surprising number of decals can go down over a semigloss surface with no problem. Some decals are supplied in a spirit of false confidence – they are too thick or are trying to go over too complex a surface. You can sometimes manage by cutting the decal into several pieces and applying it in stages. Assess your chances before you get past the stage where a a paint job is a possibility.
Not all decals are printed well – not all are accurate colours. Some are so crude as to suggest that you should get an aftermarket set. Or just stencil something on yourself.

Leave a comment