
The plan of doing work on the Boeing Fortress at our club meeting rooms is working well, if I remember that I need to paint some things at home with the airbrush first. The club spray room is in the process of reconstruction and in any case may not have the sort of items I need to use.
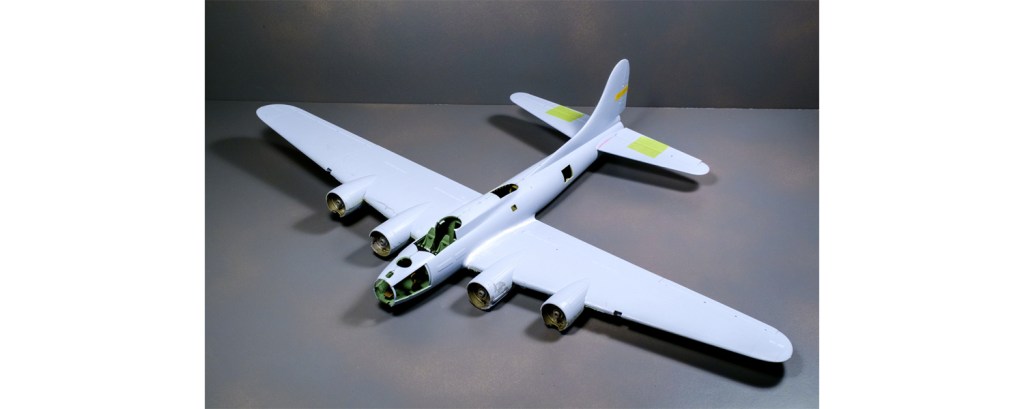
The internal painting having been successful, I used a club day to join the fuselage halves – and then found that this made the assembly just that little bit too large for the kit box. This isn’t a problem if it is always in one place and being assembled in your own space – transporting a model in ever-increasing size is going to be problematical. A small single-engine fighter is not a problem but a B-17 is. Time to think out the logistics of the weekly transfer.

Well, the two halves mated well, little sealing or filler being needed, and the next stage was the wings. The kit provides remarkably detailed parts to go inside the wings – particularly in the engine bays and wheel wells. I deliberately dirtied up the wells with a thin wash, but haven’t yet done the same to the engines – perhaps I will do so later as they can be mounted very late in the building sequence. This would be a kit that would lend itself to the diorama builder who would take off the engine cowlings and put a work crew up on platforms to service them.

The fit of the wings is superb, though oddly enough I think a little filler at the wing root to eliminate a step might be necessary. I can’t praise Airfix enough for the short stub spars that lock the dihedral in. It is glued with a mixture of Tamiya thin and Humbrol Poly and should withstand anything.

The empennage is also well-supported, but nowhere as well as the wings – I used my standard overnight gluing with jigs to set it right.

Leave a comment