
…What it is…
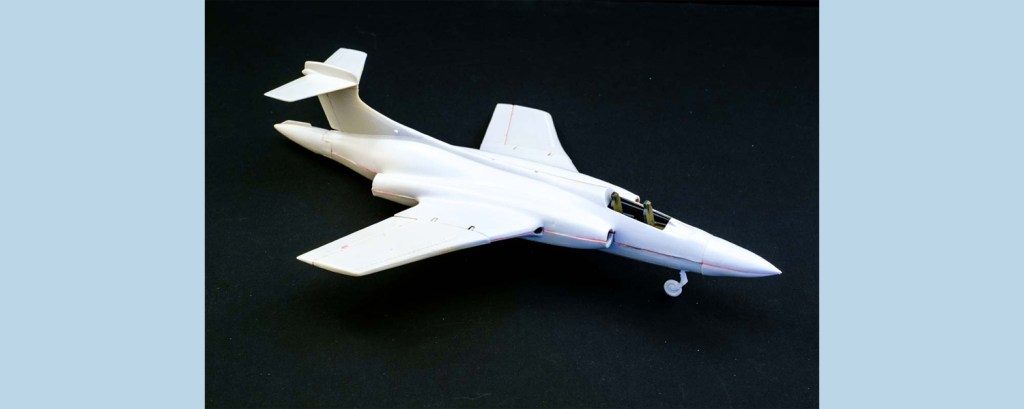
The engine compartment is full now, and it’s time to mate the sections of fuselage and attach the wings and tail. The initial dismay at the fit of these things can be alleviated with a little discrete carving and sanding, and the lips of the mouldings at least come pretty close to one another. Frankly, I’ve seen worse on Czech short-run kits.

The appearance of the seams under Mr Hobby cement and pink MEK pipe sealing cement is horrendous, but at least I know the joins are connected. The rest will be a case of scraping and filling. Possibly two cases…

The filling these days is easier – I have a tube of Vallejo acrylic resin that injects into tiny cracks and a recent YouTube video confirmed that you can water-smooth it if you work quickly after application. Wide, flat patches and sinkholes yield to Perfect Plastic Putty, and the odd afterthought can be brushed over with Mr. Dissolved Putty.

I am not a user of the sanding sticks that seem to be fashionable these days. Not that I decry them, but I have a box of wet and dry papers that I’ll use up first. Oddly enough, the rubber polishing cones that I thought I’d use in a rotary instrument seem less useful on modelling plastics than they were on acrylic dentures.

This is the dog work part of a modelling project…fill and sand, fill and sand. It develops the character and extends the vocabulary.

Leave a comment