
Well, it had to happen some time, eh?
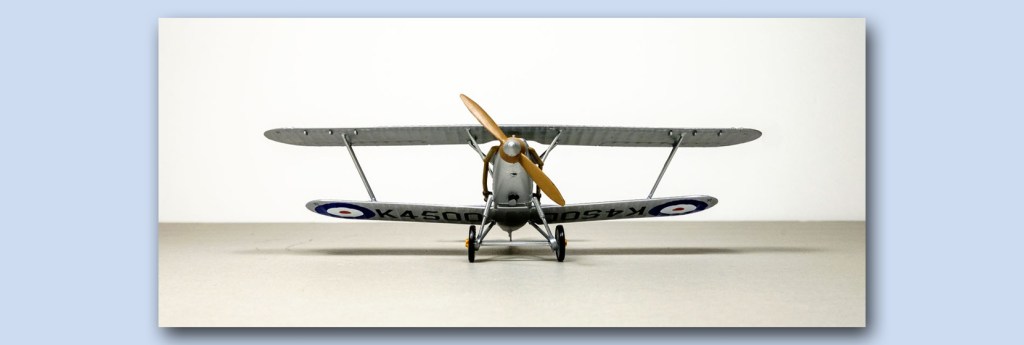
The Airfix Vintage Classic Hawker Demon is a colourful gem. The decision to pair it with the Bristol Bulldog was brilliant; it is every bit as good.
The building fit was straightforward – once the sinks and posts had been dealt with. Very little filling needed on the basic fuselage, though wing and tailplane fit needed Vallejo putty injected into the gaps. There were enough cementing surfaces and locating pegs, however, to make the actual assembly very secure. I do not throw my models against the wall to test their strength, but this Demon would have survived.

The wing and strut phase loomed, as it always does with biplanes. The trick here was to prepare the strut ends with accurate trimming so that they could go into the wing sockets. Note, Prague, that dear old bumbling Airfix provided wing sockets…Slow cement on the cabanes and interplanes and a careful lowering of the top wing onto the chassis was all it needed – the geometry was accurate. After initial set the cyanoacrylate re-enforcement was added.

Ditto with the undercarriage struts – in this case the wheels were left off to facilitate straightening if needed. Again Airfix did the right thing by me.

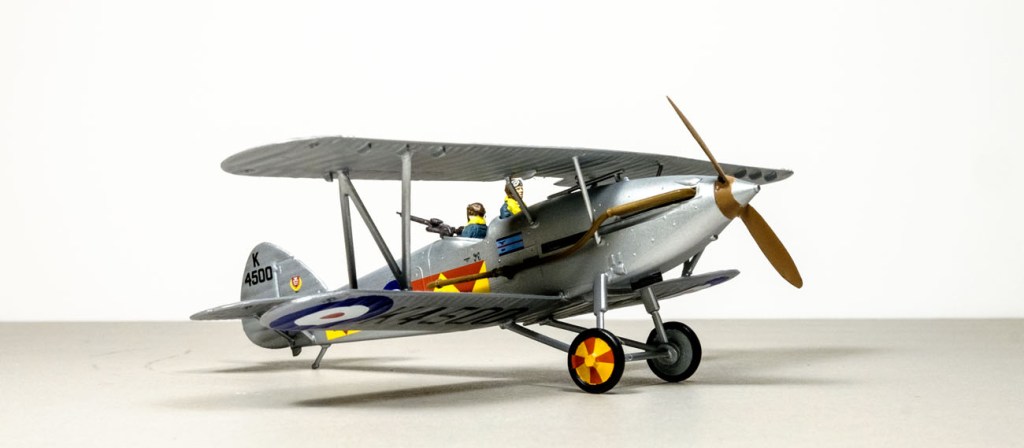
The basic aircraft is silver – silver metal and silver doped cloth – so I felt justified in assembling it as much as possible for a one-stage paint job. Most of the eye candy is in the markings.
And boy, is it bright. The decals went down like champions – with the exception of the ridiculous wheel flashes. In future I’ll paint this sort of pattern rather than rage and squirm trying to get decals to do what these did. I won, but there was language.
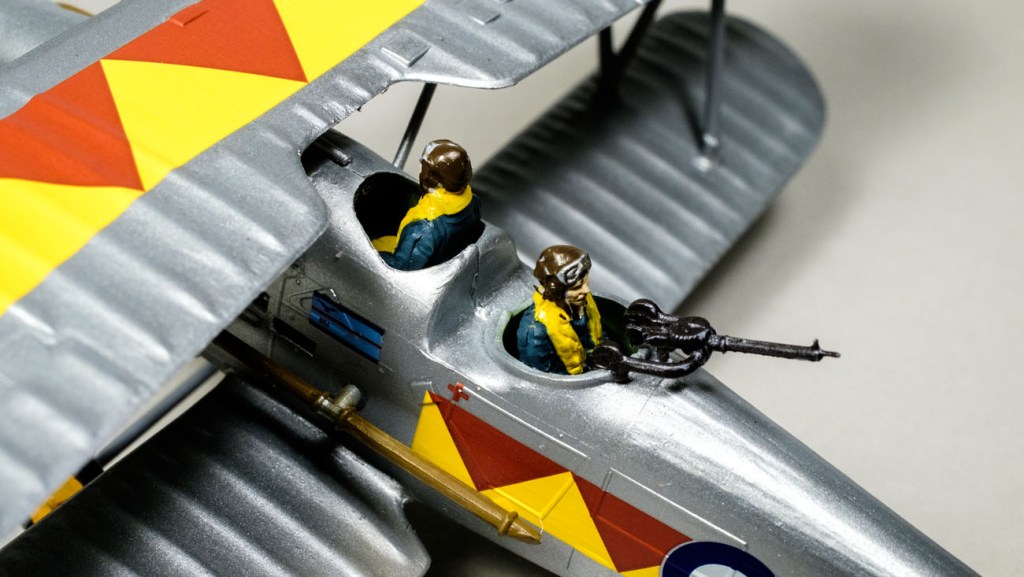
The crew – Lloyd and Cameron – Are cold, uncomfortable, and thinking of the pub. They sit on plastic shelves and it will be some time before they come out and head off-base.

Leave a comment