
Or alternately…when to have yourself committed…
You have to make a decision eventually – whether to cement every blessed little part on the model and then try to paint and decal around them, or to break it down into stages and make your errors in a more orderly fashion. One road leads to madness and the other get to the same place, but by a longer route.
I’ve long learned to read the instructions carefully – and then to decide whether or not the designer of the kit is having a lend of me. With Czech instructions I don’t have much to read but much to observe. In any case I do decide my own sequences.
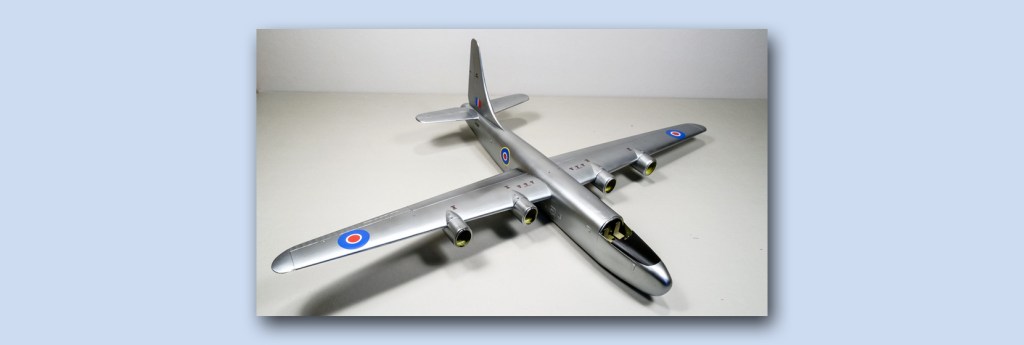
The heading image of the Privateer is after the main colours are on and the decals have been applied. The Mr Color metallic silver range mixed with Levelling Thinner makes a glossy enough surface that you generally need not apply a clear lacquer at this stage – the decals will adhere well.
But you are wise to plan your further steps to require as little additional cementation as possible – aerials and such – because you don’t want those decals out there in a raw state as you handle the aircraft. Nor do you want the possibility of fingerprints or flyspecks on the silver. Decide what the ultimate varnish will be and get it down to seal the surface.
There can be a great temptation to add bits before you get to this point, but you risk just knocking them off again. By all means define where they will go and try a dry-fit, but reserve the cherry on the top of the cake as the very last thing.

Leave a comment