
I was going to title the wrap-up post ” Safely Landed “, but then I realised that the gear was up…
At the outset I must admit this kit surprised me. I expected little, but got a lot. There have been moments, but these were predictable, and the difficulties were surmounted.

Difficulties? Not the fit – that was exemplary. Pure Heller, of course, but precise enough to mean that there is no filler anywhere. I did need to ease some joints, but once done, the major interfaces yielded to standard viscosity cement. The fuselage halves went together with progressive cementation using thin Mr Cement.
The windows were masked with dots of the Humbrol rubber cement. At the end it was easy enough to dig them out with a cocktail stick. The windscreen was also protected with Maskol so the part could be cemented in before the undercoat went on. I may try this in the future.
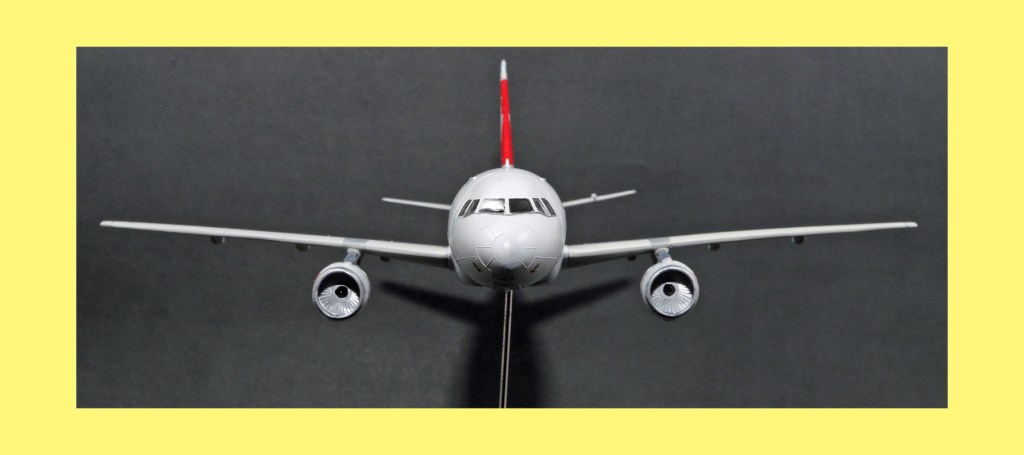
The wood block inside the fuselage is doing the mounting job nicely. I am still carving away on a sheet of MDF board and some coat hanger wire for the stand, so there will be a little consistency on the shelf.

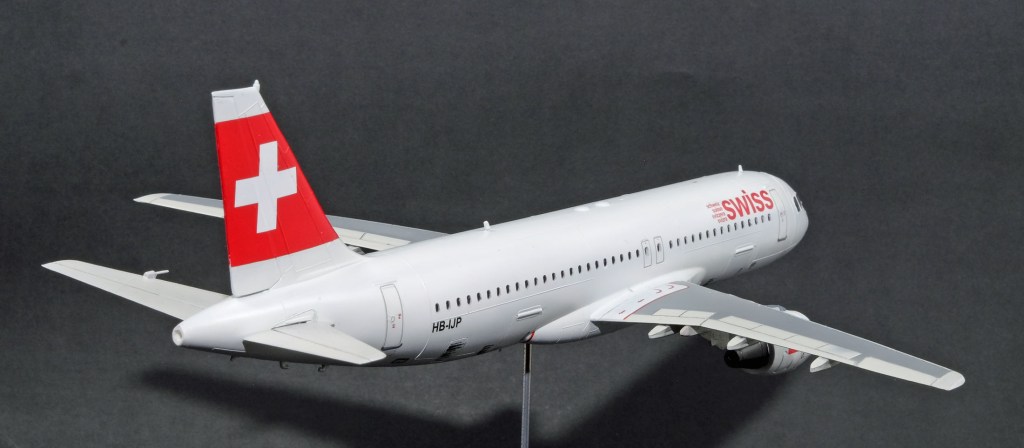
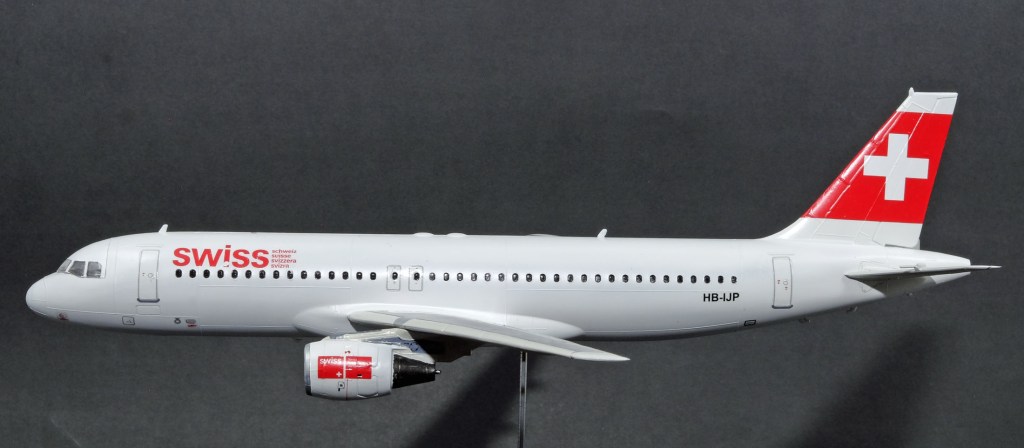
The only fright was the fragmenting of the decals. I detected it early - and wasn’t surprised. Fortunately Rob Gaden had a can of Testors decal clear coat and this bound the sheet well enough that I could finish the decoration. I must investigate where more of this sort of thing might be found – old decal sheets are a curse.
For a time-expired box scale Polish re-pop…this has been really a rewarding week.
Postscript: I experimented and found the clear acrylic lacquer from Supercheap Auto will coat and strengthen Eastern European decals nicely. Some inks run, but most are fast.

Leave a comment