
Or – dicing with yellow…
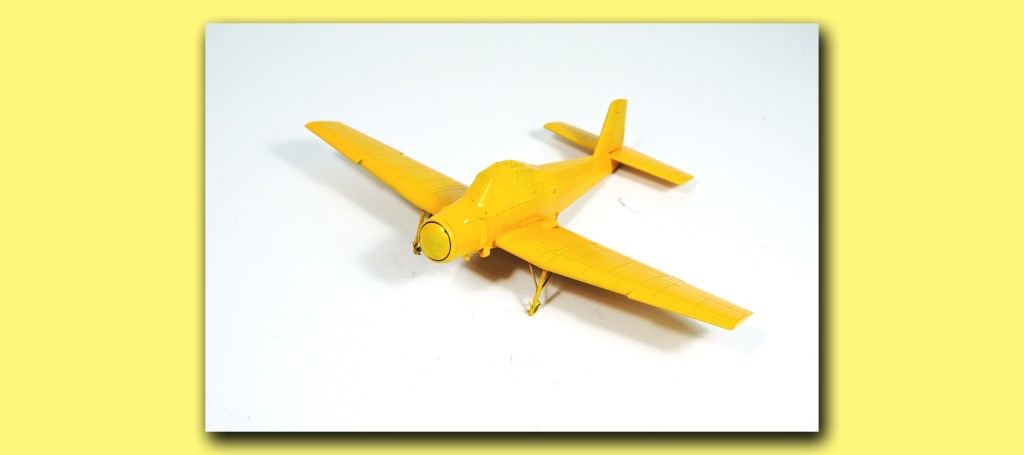
Doing a good yellow is harder than you’d think. and it gets harder as you try to preserve more detail on a model surface.
When you look down into the pot containing a yellow paint it all looks so easy – the colour is whatever the maker has specified, with you deciding whether it os the shade your model needs. It’s even and solid in the pot.
Once you get it over the model surface, however, it all becomes different. Yellow paints, whatever their vehicle, contain thin pigment. they are sometimes quite translucent in thin layers. The undercoat shows through for a long time, and can change the appearance of the yellow markedly.
I have changed from grey undercoat primers to white ones when I need to finish a trainer aircraft. In my case the Mr. Hobby white base seems to do a good job of keying the plastic and giving a consistent reflective surface. I do make sure it is a solid coverage.
The standard dilutions you might use for other paint colours still apply with yellows, as you are dealing with the atomisation capability of your airbrush. However, the wet lay-down that you see initially nearly always dries with much less intensity. You are going to have to resign yourself to at least three coats of colour to come to an acceptable intensity.
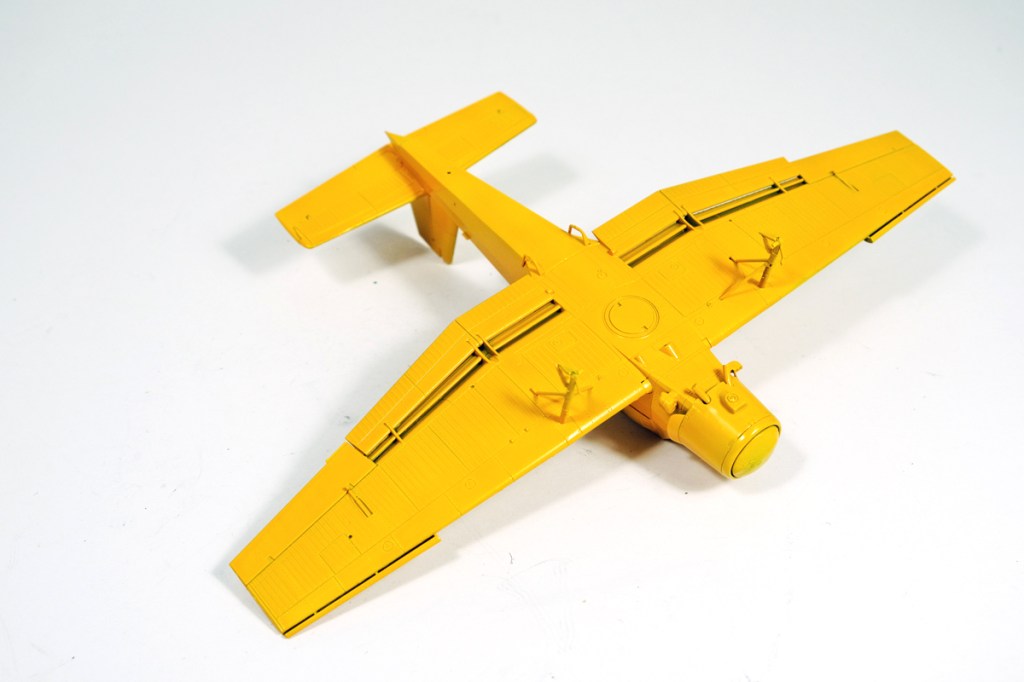
Fortunately for aircraft builders with fine panel lines, this thin coverage doesn’t fill them quite as much as a darker colour – you see natural outlines as the paint dries. This is quite attractive.
A final note: The makers of the yellow paints name them in their own ways, but your eye is the only judge of what you need. I’ve taken to internetting extensively before I agree upon a particular shade – this čmelák yellow wasn’t even on the Eduard call-out – it’s a paint intended for science fiction models.

Leave a comment