
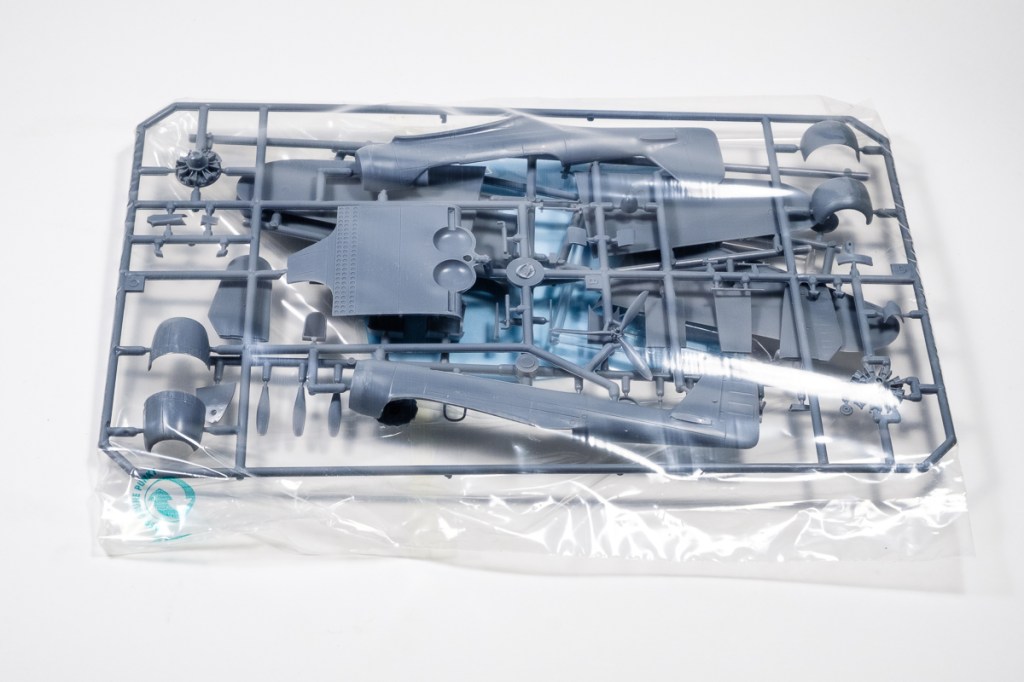
I have never been so happy to see a plastic bag full of parts before. Particularly as they are all injection-moulded with nary a resin part in sight. The new Northrop Nomad kit ( also known as the DB8A3N ) is a return to traditional construction. There is evidence of thought throughout the box.
In what I am starting to realise is short-run production, the moulds have been cut without the luxury of tabbing or locating pins, but the fit of everything seems to be good. I see little flash and where it appears, it can be easily trimmed or scraped.

I see a sensible engine block with premoulded cylinders. Also adequate, but not overwhelming interior detail. This is just my sort of kit. Further poking on the sprues turns up a number of options for the engine and cowling that will not be needed for the finished product…leaving one tantalising front-and-back detailed radial engine that will eventually be mounted on a servicing jig in a hangar. Score.

The clear canopy is adequate, though it’ll need some careful painting. This aspect of the sport is still a challenge to me and I have seen a dozen YouTube shows of other people masking and spraying. I hope I will get better at it.

The decals are wonderful, and unusable for me…at least at present. No Dutch bombers in Australia to copy – by the time the Dutch re-formed a squadron here they were using B-25’s and adopted a flag design for their insignia. I’ll put these orange triangles in the graphics stash and await my time.

Not going a bomb on the instruction sheet, though. At least it’s in good English, but it still depends on diagrams and numbers to convey colour and assembly. I’ll be using the RCAF reference photos anyway, but if I’d wanted a European model I would have liked to have seen a colour drawing of it.

And last picture…well, you can see I have gotten somewhere fast. The interior assembly actually fits, does not distort the fuselage, and does not give me rhinitis when I cut and sand it. The horizontal stabilisers are on. We’re ready for a spritz of interior colour.
Note: Having seen another modeller, AA, paint the interiors of his models with the airbrush, I have adopted this method. I’m very impressed with how little paint it takes. And as the interior is subject to so little after handling, there is no need for a thick paint job in there. Now to learn how to wash it for depth of colour…

Leave a comment