
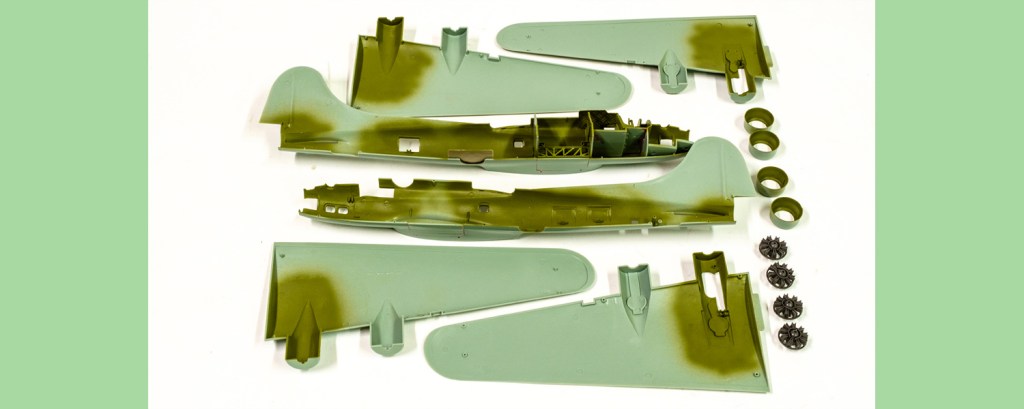
My projected mail plane needs to lose the upper and ball turret. The Academy people have not supplied blanking plates for these two gun positions so I need to occlude them with some scratch building. However, I started out with the basic cockpit and bomb bay assembly.

The interior is supposedly chromate green according to SMS paints from Melbourne. Sprayed on wonderfully well straight from the bottle but I still am suspicious about the actual colour. However, I have a bottle to use up and it’s either spray the US aircraft or spray the cat. The hole for the upper turret was being patched with a piece of sheet Plastruct bent and cemented – as was the ball turret hole.

The trouble with that idea became evident quickly – you cannot get an accurate curve to the sheet to match the interior curve of the fuselage. So you are either going to have a void that the cement cannot fill or you are going to be exerting pressure to force the two fuselage pieces apart. After squeezing and holding the thing I decided to rear out the sheet and smooth the inside again.
Then it was a case of planking the inside on the halves of each fuselage hole with short lengths of Evergreen strip, carefully butted up to fill the thing. I wanted a structure that could take Vallejo acrylic putty and then Perfect Plastic Putty as a final thin layer. I did the filling in thin layers to allow for complete curing.
And then I sat and looked at the pictures of the old RCAF mail plane in its green and grey camouflage and was profoundly underwhelmed. It was dull. The picture I had originally seen of a silver RCAF mail plane was of an E model with an earlier tail – this F model would need the camo paint scheme to have any pretence of accuracy. However the die was cast with the filling of the gun turret holes…
So I went back to the internet.

Leave a comment