
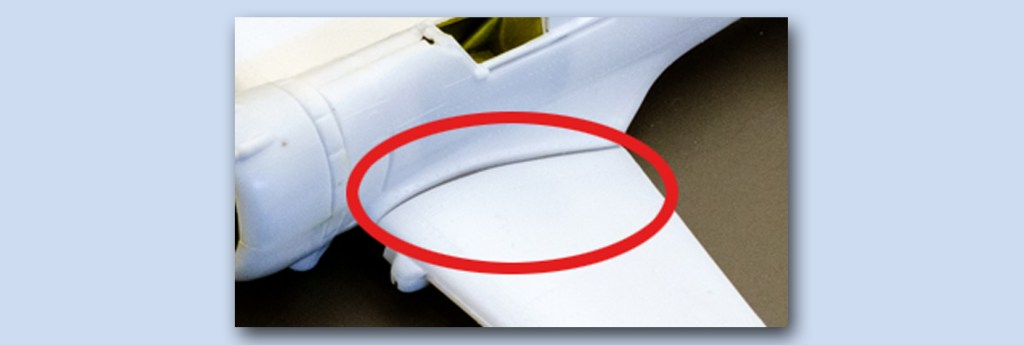
The fit of the parts on the Revell Curtiss Hawk was very good – square, plumb, and true, but the top surfaces of the wings stood clear of the fuselage fairing by a good millimeter on both sides.
If this part was subject to no stress nor expected to flex in any way, it could be filled with Perfect Plastic Putty or Vallejo acrylic putty. I use these extensively in stable areas. But here stress on the wing as soon as weight came onto the landing gear would have cracked these instantly.
Plan two might have been super-glue down the gap – or 5-minute epoxy resin. However, both of these are tough to apply accurately and the overspill would be hard to clean up without damaging the wing walks.
Plan three was the best. I looked out some thin plasticard sheet and cut strips of it. After sanding the edges thin I slotted the strips into the wing trenches and trimmed them roughly. Then a brush with extra-thin cement locked them into place. After half an hour they could be trimmed precisely and the plastic sanded smooth.
If I encounter this same same imprecision in the other Revell baggie kits I will get smart – filling the gap underneath the surface from wing to fuselage with the thin strip cemented in horizontally. Then I can get a positive cement seal and just fill the trench with conventional putty.

Leave a comment