

If ever the doctors start looking at radiographs of me and wondering why there are ulcers in my stomach and gaps in my brain, I am going to show them the business of fitting two fuselage halves together. I expect sympathy and understanding.
Remember this is 1975, this kit. Margaret Thatcher has been elected Prime Minister and Egypt finally opens the Suez canal again. I’m not sure if the two events are connected. In any case there are as many ejector pins as there are locating pins. And in some cases the former fit better than the latter…
The cockpit tray had a good chance to not fit but decided to go into place very well. The space is bare, but workable. The engine compartment has a lovely aero engine in it that will be covered over in this build. Perhaps another time it will be shown open – I would consider this as almost a play feature on the Stuka.
The assembly of the fuselage halves is straight forward but I’ll take this opportunity to show the way I clamp some of mine together. Of course you know about progressive cementing that stabilises one part and lets it set before going on to another – it’s the only sure cure for warpage. In the case of some sections they may need quite a tight clamp to approximate. But in others a tight clamp will force the halves to distort and create ridges and steps.
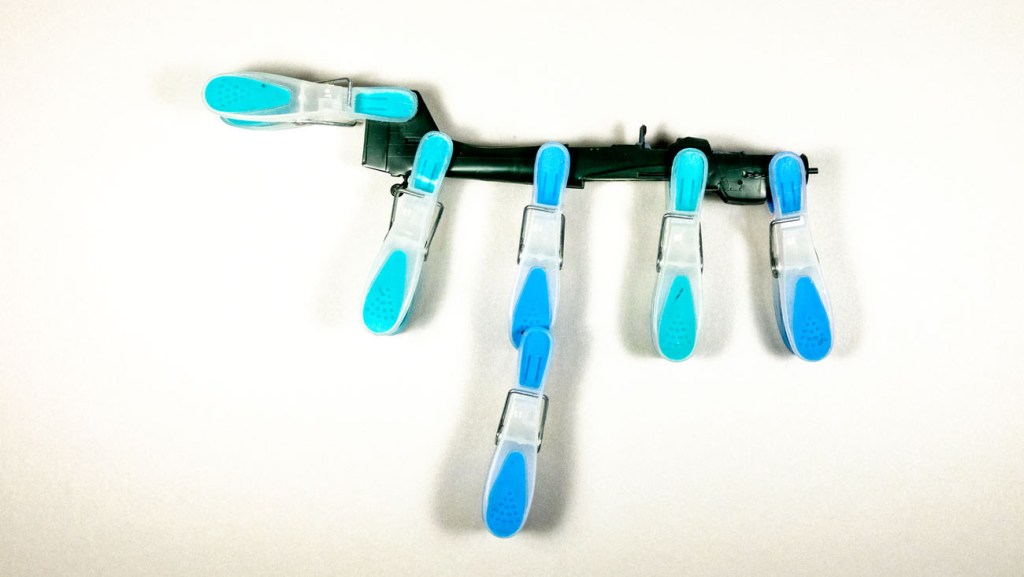
The clamps that we favour – wooden or plastic clothesline pegs. are generally set to a strong pressure. The spring is rarely adjustable. So I bracket one peg with another – the grip of the hindmost feathering the grip of the front peg. Just enough to get the seam together but not enough to force it sideways.
Thank goodness for thin cement.

Leave a comment