
Well there is no point in putting it off and just sitting in the club rooms drinking coffee. Glue the bastard together or go home.
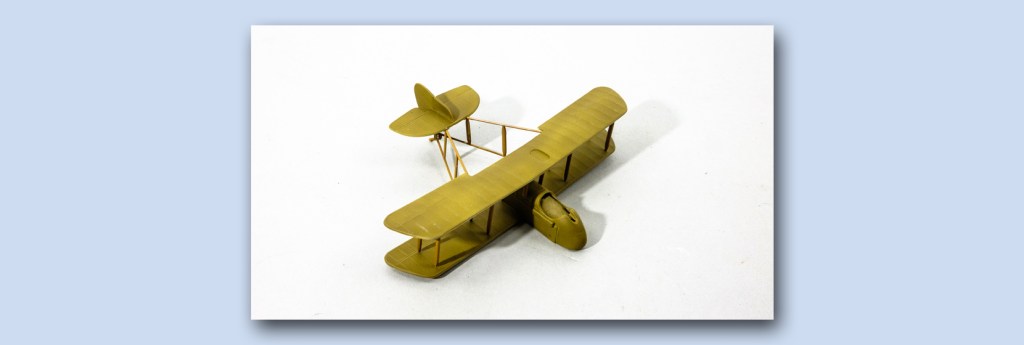
12 struts – reasonably formed for all that. 4 cabanes and 8 inter-plane ones. Socket dimples in fuselage and wings, but everything’s separate. The only saving grace is that all struts are vertical – there are no odd angles to cope with.
Well, follow instructions – Revell say to cement the cabane struts first and let them set hard. I use thin cement in the socket to soften the plastic and medium viscosity on the end of the strut – don’t clap the strut in the hole instantly – let things gel a bit first. Then get the first one right before you apply the second. Eventually you’ll have all four upright – and then offer the upper wing to see if the strut holes will line up.
If they do, gently support the thing until you can check that the upper wing will be plumb and square to the lower. Then let it all set hard.
Some texts now would have to attach the upper wing by the cabanes alone and allow it to go rigid overnight. Then they imagine you’ll lever in the inter-plane struts one-by-one and it will all be fine. I don’t have that much faith. I set each interplane individually before presenting the upper wing – Still dry, I wait until things are just about rigid and try the upper wing to see how close it will be.
This DH2 was very close indeed – but this is the point at which you can decide to trim strut attachment or deepen wing holes to compensate for tolerances.
The tail is a pain – you get defined places to attach the struts, but there are 4 more to go plus the tail piece. I lost 56 lbs in sweat by the time it was all done and had to refill with beer…

Leave a comment