
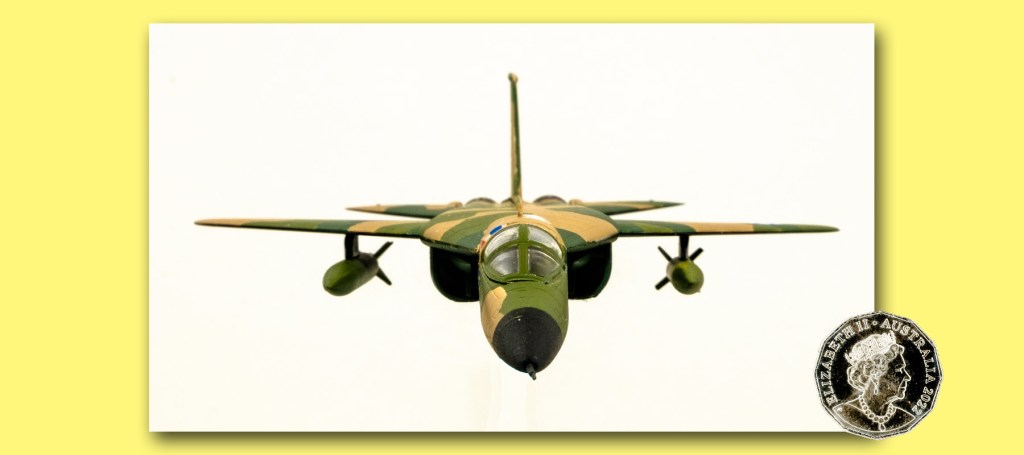
Every model you build teaches you something – this little one showed me how to conquer the tri-tone scheme.
Normally I hate ’em – the Armée de l’Air or USG or Italian three-colour camouflage that looks so cool and takes so much masking and spraying time. I have been known to chicken out more times than Col. Sanders…But this small scale means I am not really pursuing feathered edges…so one of the older materials comes into play: Humbrol Maskol.
After a regular Mr. Surfacer coat has cured I use a propelling pencil to mark the camouflage pattern. Even the lightest line shows up well on the grey surface.
Then I spray the lightest of the colour coats in the patches that are marked for it. Turned-down paint feed and a good thinning does the trick, and I judge of the air temperature when I choose the speed of drying for the thinner.

Once that first set of patches cure, they are coated over with Humbrol Maskol using a wooden cocktail skewer. It gives very fine control and never clogs like a paintbrush.
Then the next-darkest colour, and another masking session. Finally the last colour – the darkest – goes on and the piece is set aside for half an hour to get to the just-set stage.
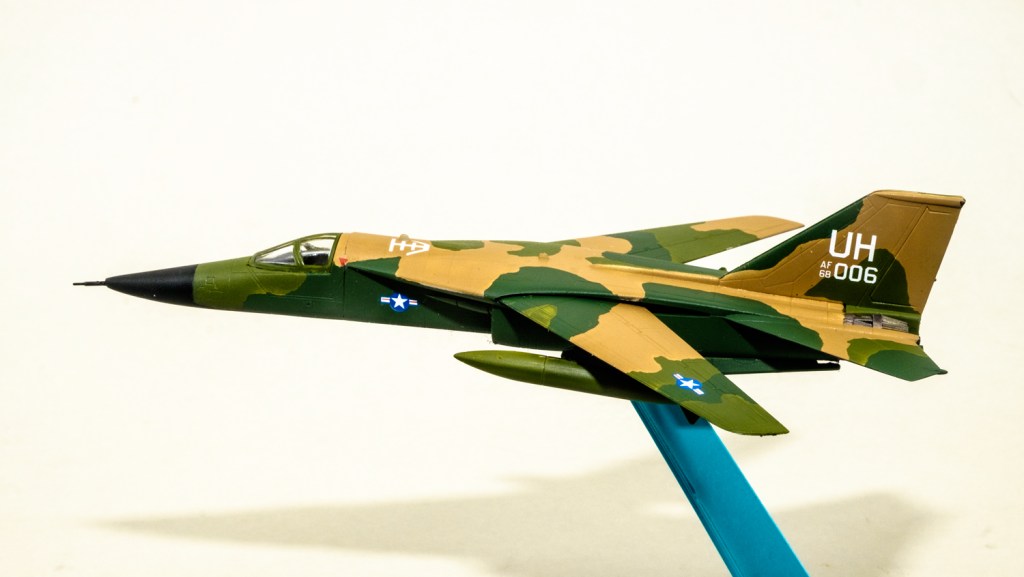
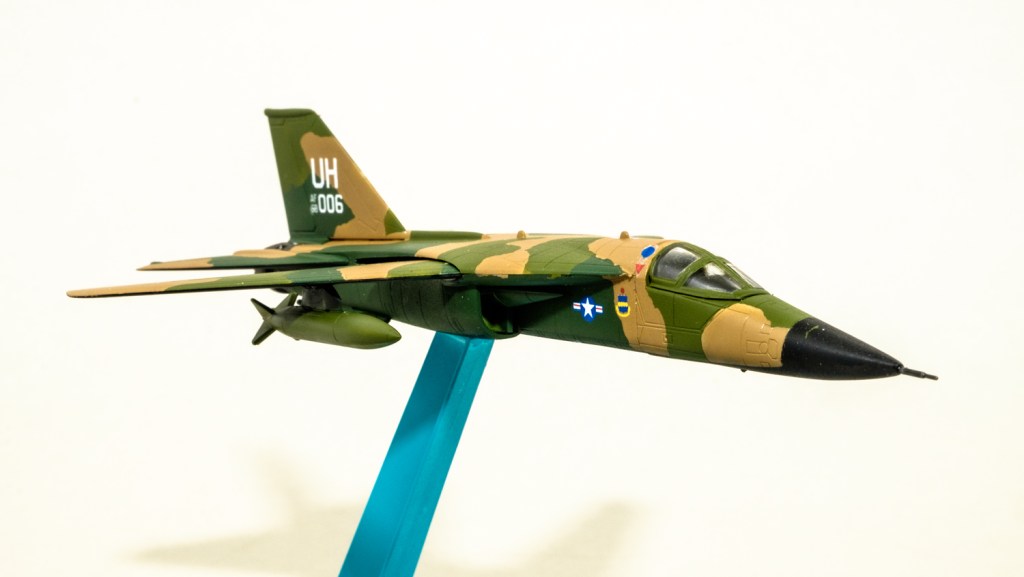
Now I follow Phil Flory’s advice and de-mask carefully. The paint is not so hard as to resist the removal of the rubber and the margins can be gently rubbed into one another to eliminate ridges. These are hard margins, but this is 1/144!
Note the Arii decals went on superbly well, despite their age, and even though Tamiya warn that their flatting varnishes are not to be used over decals, they still work anyway.
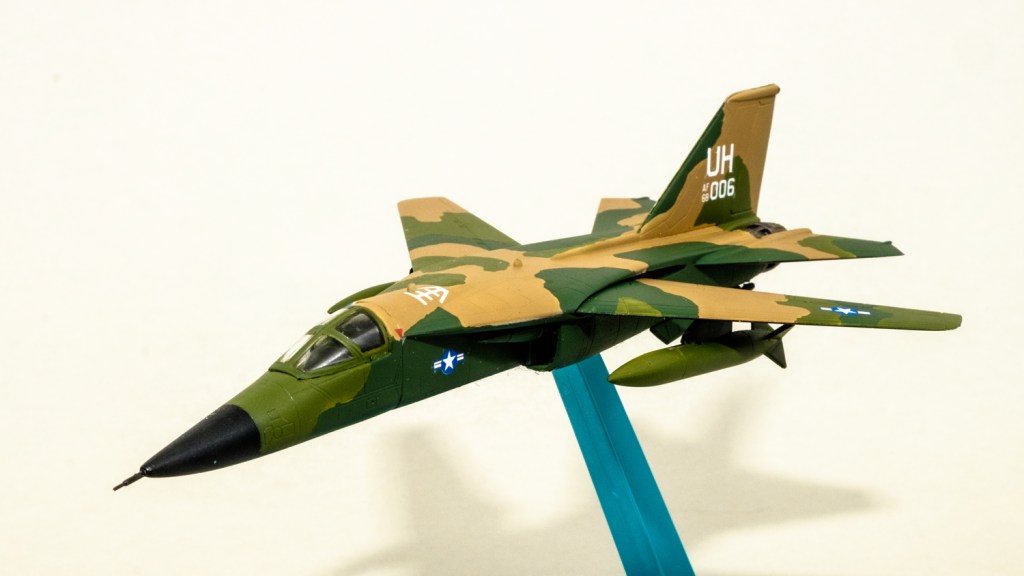
I did secure the wing positions with a thin rime of PVA glue so that the drop tanks could go on straight. On a plinth, all things are possible.

Leave a comment