
You have no idea how hard it was to resist writing ” Four-play “…
The horror I experienced painting my first four-part camouflage scheme still exists in my display cabinet – wrapped around a Morane-Saulnier fighter of the French air force in early WW2. I was relying upon a back-of-packet colour call-out and masking fluid. The result is marginally awful but I still have some affection for it.
This new scheme is a combination of the Italeri call-out’s advice, an FS colour sampler, and logical deduction. I have no real Ju-86 in hand to compare, but I can estimate.
The undersides are nearly always easy, as few ever mottled them. If there is a wavy line at the upper edge of an underside colour it can be done with putty rolls, but fortunately most air forces did not insist upon a faded line.
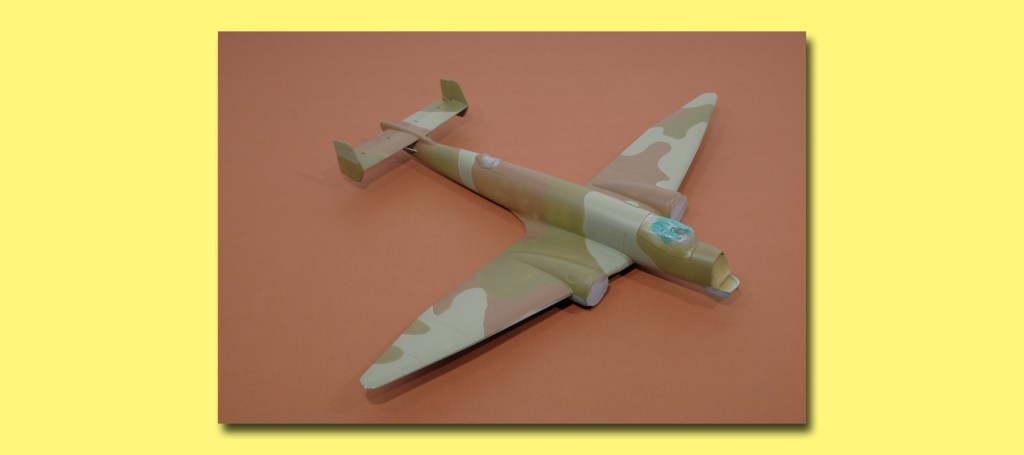
The upper pattern was drawn on the undercoat surface with a fine propelling pencil and the various patches identified with a G, B, or Y. The yellow-grey was sprayed first with an effort to stay with-in the boundaries. Then it was masked with putty worms and Maskol and the brown was added.
Once dry, worms and Maskol covered the brown and the green was sprayed. I disagreed with both Italeri and the Feds about this as it was unlikely that there was FS paint in South Africa and very likely BS colours – ie RAF green. Later it would have bleached out but my aircraft roll out of the paint shop onto my shelves.

The underside in RLM65 is a very likely thing. After all, the plane came from Junkers as a bomber as a sales bonus and it would have come out of Germany in standard hues.

Leave a comment