
The idea of a commercial double decal is not new…but it might be just the answer for your home-made ones.
Some decals come on Cartograf or other printer’s sheets as a two layer plan. I have made up French Air Force planes where not only the tail tricolor but the main roundels require two applications; red and white with a separate blue dot for the centre, or aircraft makers’s name over the tail.
These are straightforward. You gloss the model, apply Mr Mark Setter, and lay the base. Blot and leave to dry for ten minutes and then repeat with the overlay. Done delicately, you don’t unseat the first decal with the second. The only awkward part is getting the blue centre exactly right to prevent a cross-eyed look.
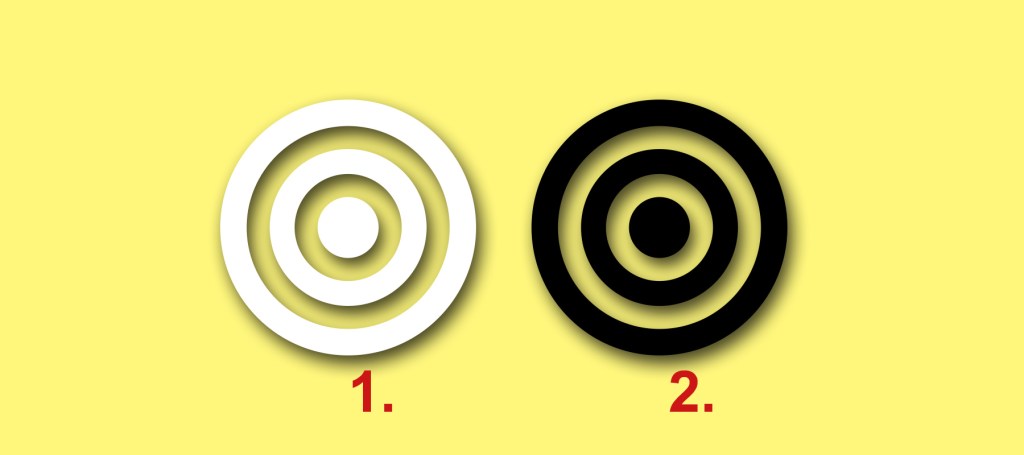
A railway modeller has come up with a two-layer idea to make home-made decals better. He noted that with white decal paper you inevitably get a tiny rime of white around every outer edge. If you’re decaling on a plane in Coastal Command white it just disappears, but against dark paint it shows.
When you do the same pattern on clear decal paper there is no white border, but the colours are often transparent against that same dark paint.
What he has done is spread the roundel or other insignia between both a white decal sheet and a clear one – printing the identical pattern on each type. Then he cuts out the clear one with a very small clear surround – much like the commercial decal has. The white-sheet insignia is cut very slightly inside the edge of the roundel.
This solid decal goes on first and is left to harden for an hour or so. When the clear decal is then laid over top it is very carefully positioned to duplicate the one underneath. The white edge that would give the game away is hidden under the clear-paper one, and the colours are still strong against the paintwork.
This is easier to do with simpler insignia but can still work with complex lettering. Pure white letters on a coloured ground can be made to blend into the backdrop if you surround them with a coloured border.

Leave a comment