
A friend once showed me a model kit in very small scale – 1/144 or smaller – that was pre-painted by the maker.
It was delightful to look at, in a sort of toy-like manner. The makers had finished the fighter in camouflage but I think there were a choice of decals that could be applied.
My version of pre-painting is what everyone else at the club does – paint small parts on the sprue trees before snipping them off. It was a new technique to me when I took up the hobby again and I can recognise the sense of it. But there is even more…
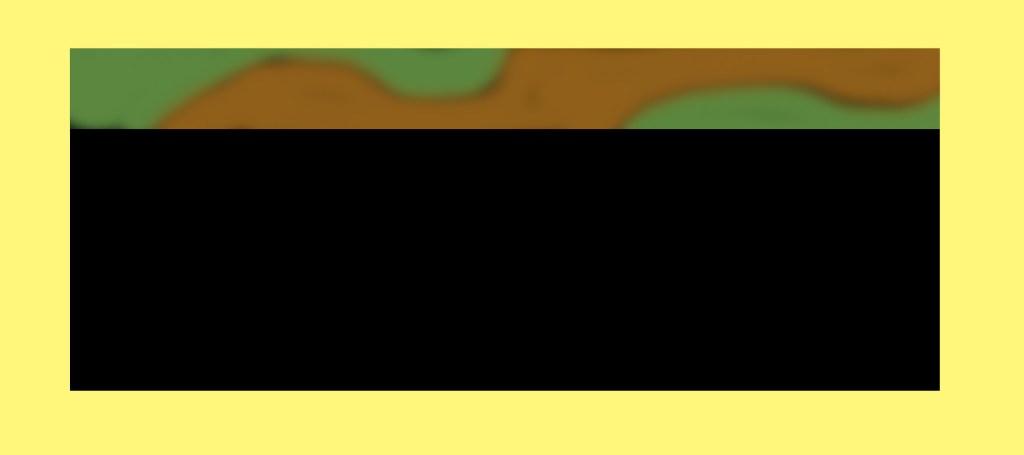
In my construction of a 1/72 Short Stirling glider tug, I noted that the standard British night bomber scheme at the time extended the coal black well up the sides of the fuselage with only a small amount of green/brown camouflage pattern on the upper side. The wings and tailplanes had standard A/B pattern on them but the colour finished right at the point where the upper and lower halves of the model’s wing were cemented.
Eager to make a new class of mistake, I figured out that if I painted the black underside of the flying surfaces and the camouflaged pattern on the uppers separately before I joined the wings, I would have far less masking to do. And I could paint the fuselage before I actually cemented the wings and tail on.
Well, the painting was fine – I used up the last of a bottle of Mr. Color No. 92 for the bottom and some 22 and 23 for the top. Masking was the standard worm and fluid procedure but a lot easier to control as it did not have to be on a full aircraft.
Cementing the wings together and onto the fuselage took a day but there was very little touch-up to do. The technique might not work for anything other than a Stirling, but it was fun to experiment with.

Leave a reply to Pierre Lagacé Cancel reply