
Those two glorious words…
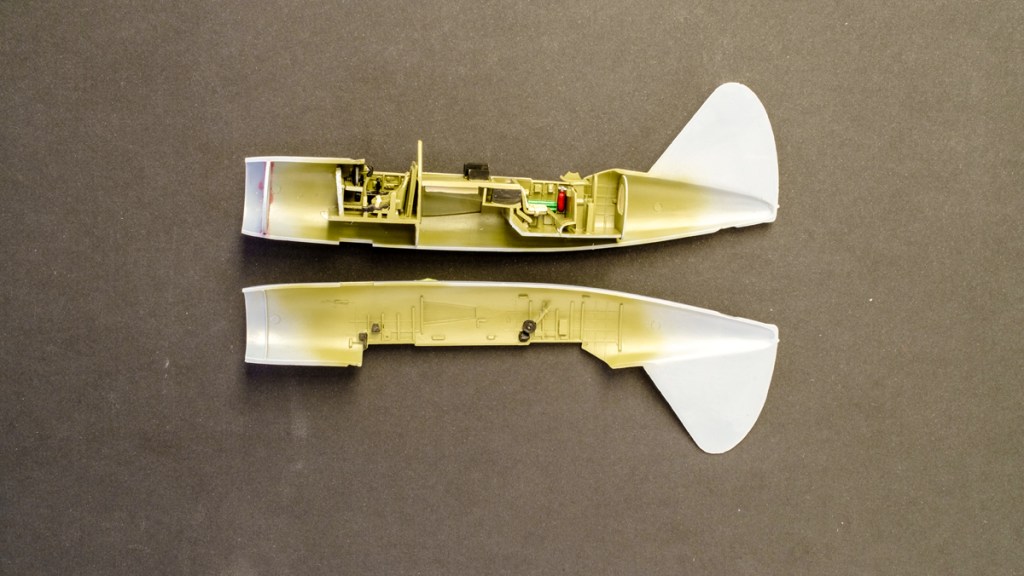
The interior for the Brewster Buccaneer is a complex thing – Special Hobby have made use of tiny little injected pieces as well as the resin and PE and it took a day and a halve to finish the flight deck. But I have to give the Czechs credit where it is due – the fit of the parts was pretty good. there was a tiny bit of fettling with a few instruments, but that may have been down to me mis-interpreting the instruction diagrams.
Special Hobby instruction sheets require some careful study – they are precise enough in the drawings but the lines that show where the parts go are coded for one side or the other. You can make mistakes if you don’t visualise what they are trying to say.
As well, you need to look at their colour notes. I’ll give them better accuracy than I could imagine, but with each step I use a coloured pencil to circle the call-out number to make sure that I do not miss it.
Is it necessary to go to the exaggerated lengths for detail that the modern short-run kit asks? I wonder – particularly when I see PE parts that cannot be used due to delicacy. In 1:72 scale the effect of over-detailling under a plastic canopy is all but lost.

Still, I am happy to be able to report that the to fuselage halves mated very cleanly and dry fitting shows that the canopy will be a good fit.

I do wish, however, that the mouldings could include accurate tabs and slots for the main and tail flying surfaces. I use Mr. Hobby Deluxe cement and coat both fitting surfaces, but I’m still acutely aware that the bond is dependent upon just peripheral contact with no core. Hence giving it adequate drying time in a little jig.


Leave a comment