
Well, it was a temperate and pleasant summer day and no-one needed me, so I just popped the top on the Italeri kit, washed the sprue trees, and got on with it.
The component parts you see here laid out ready for temporary or permanent assembly were the result of about 5 hours of cutting, sanding, painting, and drinking coffee. Plus the odd stop for the internet or a sniff over our southern horizon to see what the bushfire smoke was doing. ( Good news. Largely gone this morning, though the outbreak is probably still being dealt with by the water bombers. We only had a little one…not like NSW and Victoria. )
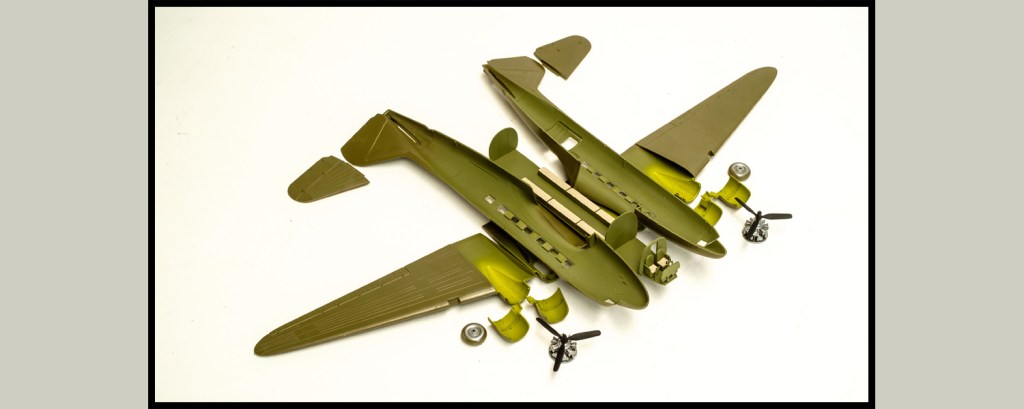
The pallet for this build is deliberately subdued – the olive and grey on the outside is going to be dusted down and the inside has only three colours – two of them green. Preliminary tests confirmed that the crew would be wasted in the cockpit – it is just going to be too small and dark in there.

Likewise, the thought of paratroops went by the board when I found out how much a set of seated figures from the UK would cost – the local sets are all action figures in ground poses.
The fuselage buttoned up fine by tea-time and the wings and tail went on overnight. Italeri are dead-on with the geometry and it was a pleasure to just cement things on. There were, however, trenches between the outer and inner wing panels and these needed filling with plastic strip and cement…then dissolved putty…to close up. I opted for the welding action of plasticard and liquid cement over just filling the gaps with putty – the wings are definitely stronger this way. You’re sanding somethng down anyway, and it might as well be solid plastic.


The engine cowlings are to be assembled with the temporary Microscale Liquitape. They’ll be tacked onto the nacelles before the undercoat and colour coats, but can be pulled apart for insertion of the propellors and then finally secured at the end of the build.
Liquitape is proving darned useful in attaching canopies temporarily over cockpits that will be painted, so there is no reason not to use it here to get an even coverage of the colours. It might even be the answer for components that are too delicate to attach. Put them on when displayed and take them off while transporting…


Leave a comment