
I’ve written before about Occam’s Razor as it applies to scale modelling – the topic at the time was producing rust, and it’s been getting rustier ever after.
Today it is Occam’s Hammer. The old chap will forgive me taking his name in vain, but I intend to treat the principles he espoused with affection. Briefly, Occam’s Hammer is one of the tools that complements the Razor – this latter was the way he envisaged cutting a complex phenomenon to the core to discover the simplest explanation for it. The Hammer does a complex procedure in the simplest way. Both tools , wielded well, will make your life better.
As an example of Occam’s Hammer, consider the need we all have to paint models with an airbrush. Set your mind’s eye on a small airplane and begin to airbrush it – you can set it down on the bench and spray the top…but then you need to wait for the paint to set perfectly to be able to turn it over and do the bottom. And the line of separation between these two surfaces may not get an even coat of paint.
So you devise a way of holding the model so as to be able to paint both sides at the same session – and not spoil the paint by having to set the plane down on a wet patch…

a. You make a jig that holds the model horizontally from either the nose or tail and allows it to be turned over like a pig on a spit. Jets have a tailpipe at the back that will let you push a wooden stick in – and some have nose intakes that can do the same. Prop planes frequently have a propeller shaft that you can grasp or a hole for one that can take a brass tube.
The jig becomes the subject of a day’s modelling in itself as it has to hold a considerable weight in balance. Foam core board is a good material for the construction as it is cheap and easy to cut and join.
The whole proceeding works, but is complex and time-consuming. You may need jigs of various sizes to cope with the different planes and every one is a day to make.

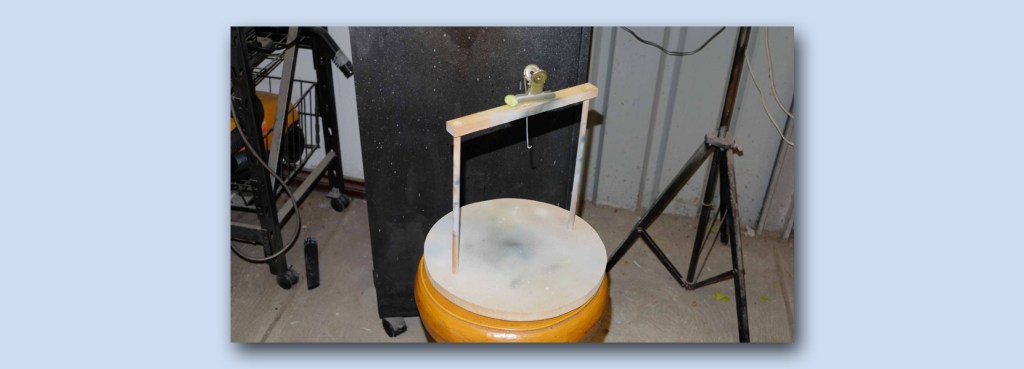
b. You can balance the plane on nose or tail by the same orifice you used for the horizontal jig. The base upon which you balance it revolves on a standard painter’s turntable and all would appear to be sweet…but you find that painting the leading edges of wings and noses is very hard to do. Patching paint sessions are needed very often. If you get your paint mixture too thin or flood the surface, you get pooled patches in awkward places.
Plus anything that is balanced is an invitation to gravity to unbalance it.
c. You can put on a rubber glove, hold the model by its tail, and turn it over and over as you spray it. I see this a lot on YouTube. After the main job is done you have to wait until that section of paint is dry before grasping it again by the nose and filling in the tail. And you have to have some way of holding the thing free of any surface while the paint dries. Not a technique for the enamel painter…


d. You can cut a plastic food container open so that it supports a model on either the wings or the fuselage ( two different patterns ) and then smooth the edges of the plastic with cheap masking tape. Pop the model upside down on the support and spray the underside – pit the freshly painted thing into a sealed plastic box until the paint sets – then turn the plane over and do the other side.
If you are working with lacquers and standard-set thinners this can be a remarkably fast process. Design your food container support well, and you can wrap the spray around between top and bottom so as to get even coverage on sides, nose, and tail.
This design also works if you need to do especially small or large planes – you just break out the old foam core board and make a custom jig.
These ideas are not vapouring thought – they have all been tried and have all succeeded to some extent. The (b.) version works a treat with undercoats and the (d. ) idea seems to be the best yet for colour coats and varnishes.
The Hammer is in use.

Leave a comment