
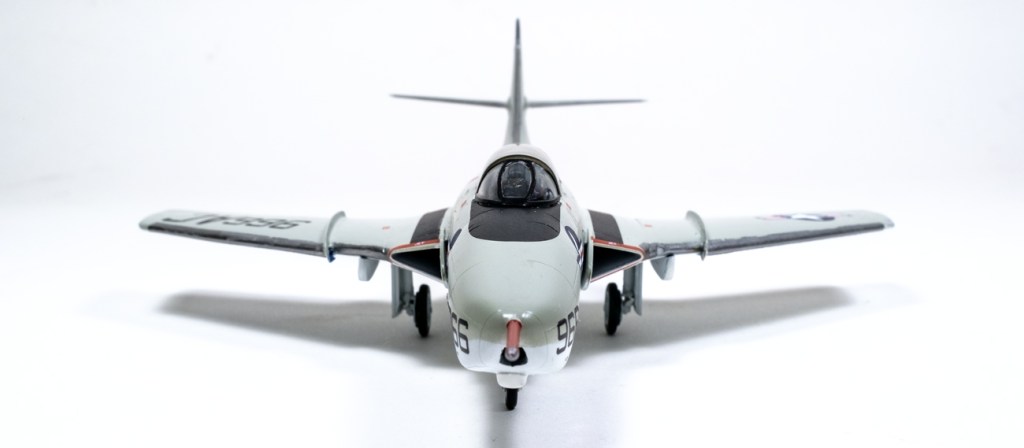
I’m being mean. Really this has been a very good kit to build. Minimal trimming, minimal filling. Fit everywhere.
Just the minefield of the instruction sheets. It is a warning for the future, however, not to build anything straight out of the box and straight off the instructions. Get a third-party reference and keep it pinned above the workbench. Glance up suspiciously…frequently.
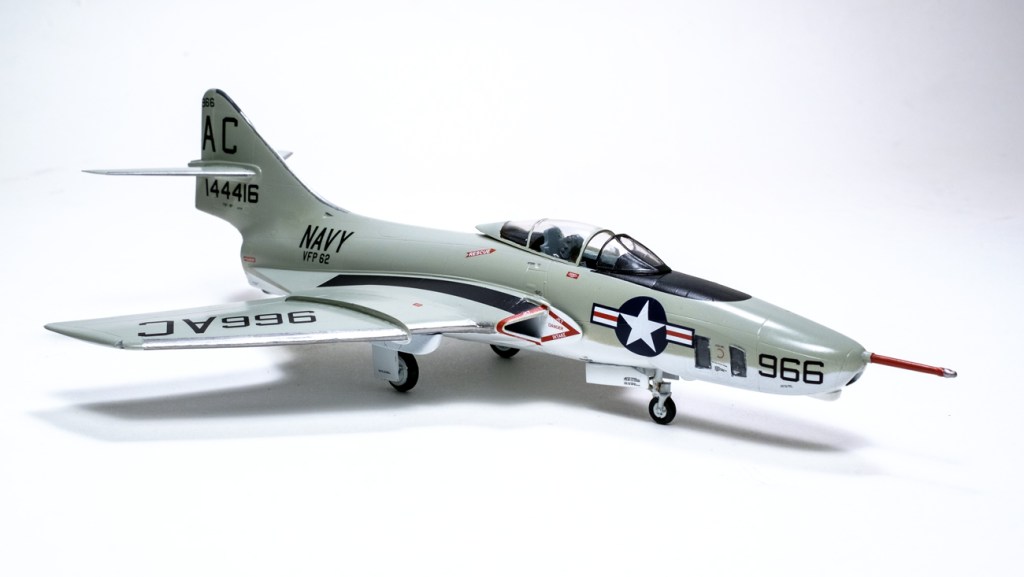
The paints for this build are simple GSI Creos Mr. Color pots. I don’t use Gloss White, however, preferring Character White for the underside of USN and Coastal Command planes. It is significantly different from Insignia White, as well. The good thing is that if you are going to be spraying vast swathes it is also available in a GSI rattle can.
Also, I finally admitted that I detest masking masking and spraying for leading edge de-icing strips. Very hard to avoid seam-creep. So I will now put these thin features on with the bow pen, as was done here. It was the only way I could think to cope with the curve inboard of the wing fences.
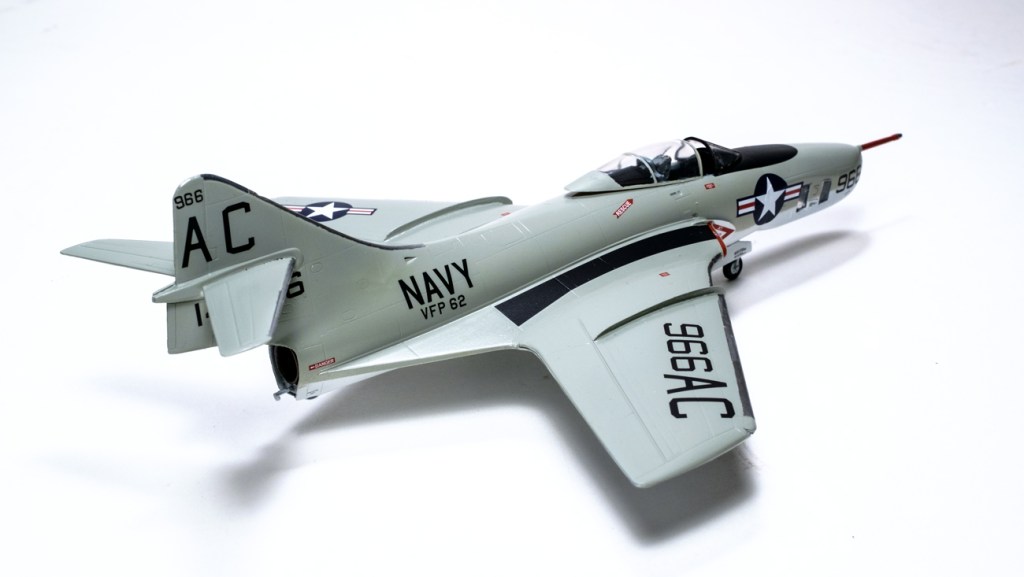
The fit of the wing fences is also worth noting – like the Israeli Vautour IIN they are PE brass parts that need careful sepration from their fret – you can’t have wrinkled wing fences. Once in place, however, Zap medium super glue sets and fillets them and they are superb.
The other surprise was the fact that the plane nose-sat without extra weight. I don’t think this would be possible with a fighter version of the F9F – too short a nose.

Note for people putting on Czech decals: They release in 5-8 seconds and float off the sheets very well, but they grab like leeches once they hit the plastic. I put down a real puddle of Mr Mark Setter and steer the things into place with a stiff brush. It won’t make putting down 3000 stencils any less tedious, but they will go where they are directed.

Leave a comment