
There are no build pictures for this model as I was busy holding down a table at the Big Local Scale Model Exhibition as it was being constructed.
I had put out 6 of my airfield dioramas as part of a group display and as they did not need a lot of minding, I was free to wander around and spend money I didn’t have or sit and play with the model I did. Not surprisingly, good sense held sway. I spent Saturday and Sunday cutting, cementing, sanding and refining.
The kit did not need much fettling to go together well. Hardly any filler was required and what little did go on was in the wing gap underneath where you couldn’t see it. The top fillet was exceptionally neat.
Not as neat as to not require some smoothing – so for this I decided to make my own wing tool. I took a small paint spoon put out by Ustar and ground the edge of it to an acute angle. This made it the equivalent of a large spoon excavator similar to those used in dentistry in the 1950’s and 60’s. The curvature of the end is perfect for tight wing roots. You just scrape until it all blends in well.

I will also explore the idea further with a wax carving tool that has a much broader curve. I’ve got one picked up at a craft shop – a cheap tool for dentistry but possibly a good scraper for plastic. I wish I had access to some of the razor-sharp acrylic scrapers we used in the Pros Lab to finish dentures. They had good steel and a comfortable handle.
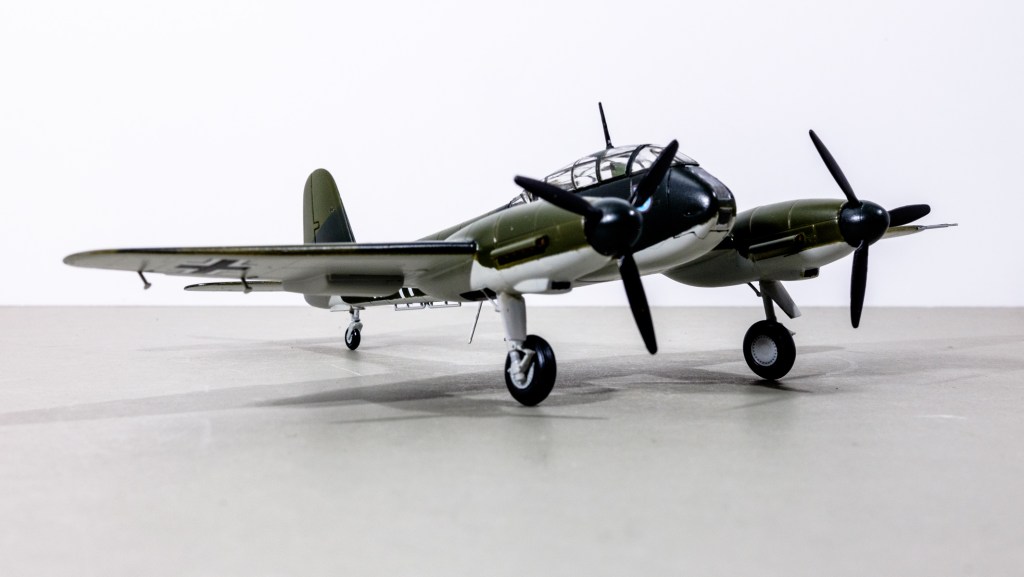
Well, anyway, the thing went together well and was ready for undercoat on the Tuesday after the exhibition. It has received the three paints since then and come through with very little overspray or bleeding. The mask set was used for the wheels – pretty simple – but I still used the bow pen for the canopy framing as I am getting good at that.
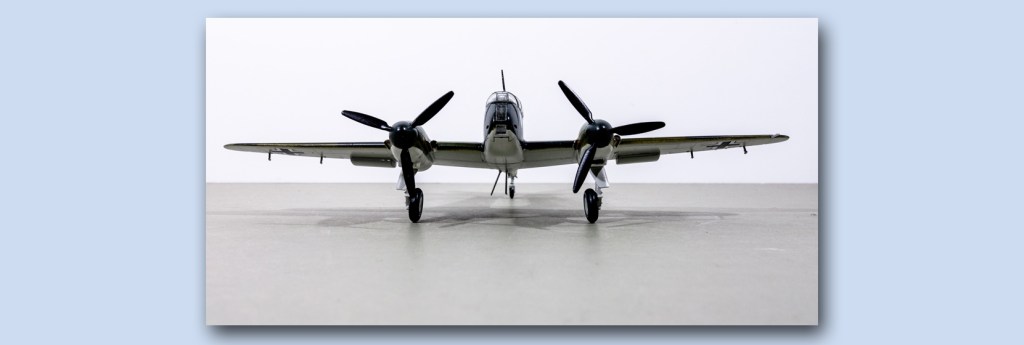
The odd angles seen in the main landing gear covers are real – a preserved specimen of the aircraft has shown up on Google somewhere in the US or UK.
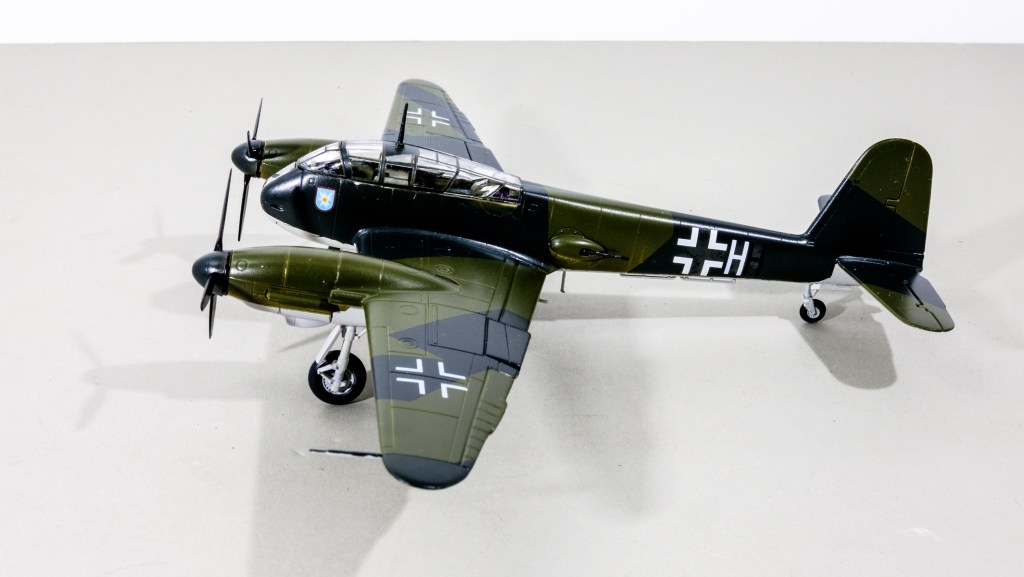
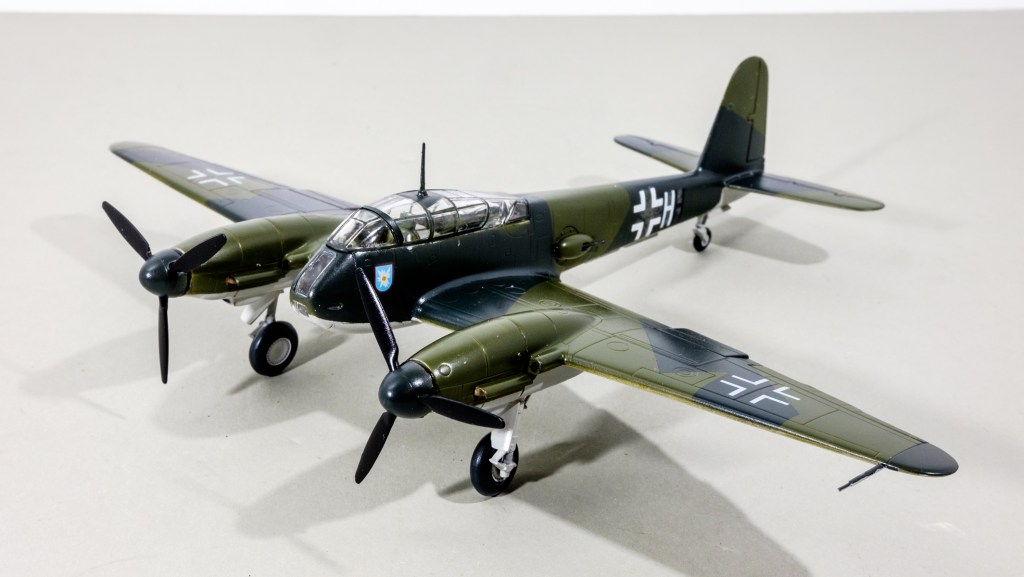
Note that the camouflage pattern is not random splodging – it is exactly the same as the call-out’s diagrams. I do like German hard-edge camo.
The only major hiccup came with the main landing gear. The construction inside the engine nacelle is separate shelves cemented between the upper and lower half of the wings. One of them let go as the gear was being inserted and I had to do some internal cementing and bracing plus a packing block to bring the starboard gear leg to the same level as the port.
The moral of this is to use extra cement and bracing before closing the wings or nacelles. It is not seen in there and you can use plastic structural beams as insurance against future movement.
The canopy on this thing is overly complex, both in the original and in model form. It had to be moulded in two parts along a horizontal seam – fortunately just at a frame line. I cemented it carefully with Extra Thin and the paint covered it perfectly.
The model has come out well in spite of the panic. It will be displayed alongside the model of Uncle Doug’s Mosquito in a library diorama with the explanation of the log entry.

Leave a comment