

When all else fails, reach for the drill…
Sorry, old habits die hard. Actually that should be reach for the forceps and slide that bucket over here. Open wide.
The butt joint wing or tail surfaces are the easy way out for many short-run kit designers. They imagine you will square up the fitting surfaces and then put some magical cement on them that will cure everything.
Standing there with a completed model in one hand and a wing in the other tells you they were wrong.
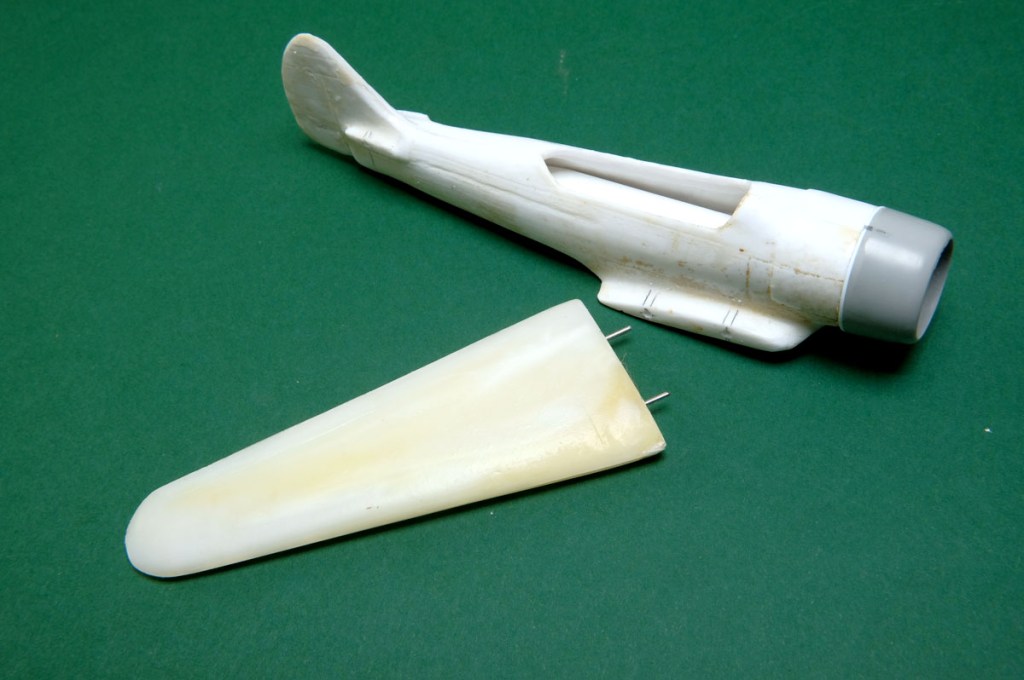
I use a dressmaker’s pins in two sizes as steel re-enforcement for these occasions, Drill the holes in the wings or stabilisers first by hand. You may need to stagger the latter as tails are narrow and the pins might interfere with each other.
cement the pins into the holes with thin CA cenemt and let it set. The carefully remove all excess cement on the fitting surface with a sharp knife.
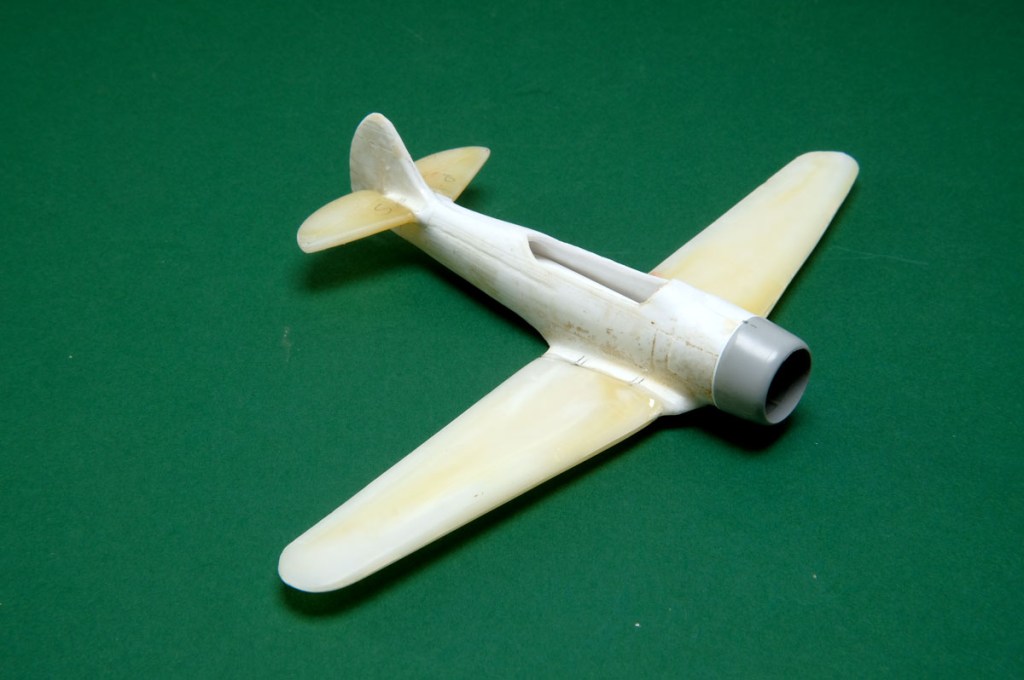
Lay the pins against the fuselage and mark where the receptor holes must go. Select a drill size that still lets the plastic grip the pins as they slide in – you are looking for more than moral support. Test in the end to see that you have as good a fit as the kit will allow.
I favour Mr. Hobby Special cement for this step – it is a medium thickness and has a good tacky grip. When it sets, re-enforce with CA to fill any crevices. Better safe than sorry, and in Oklahoma that sorrow might even have a fringe on top…
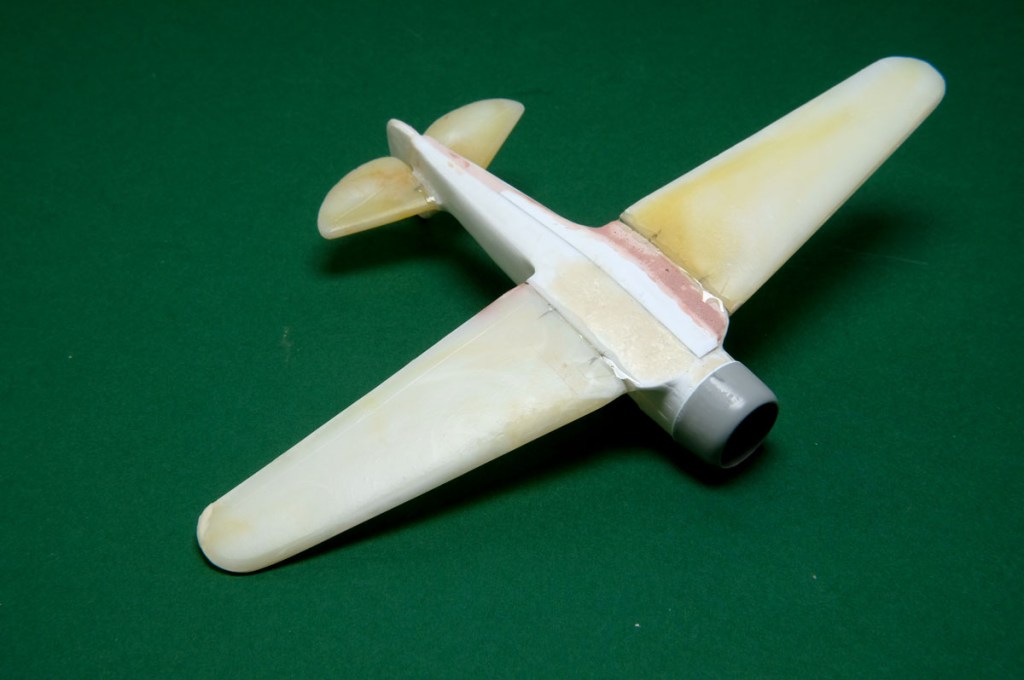
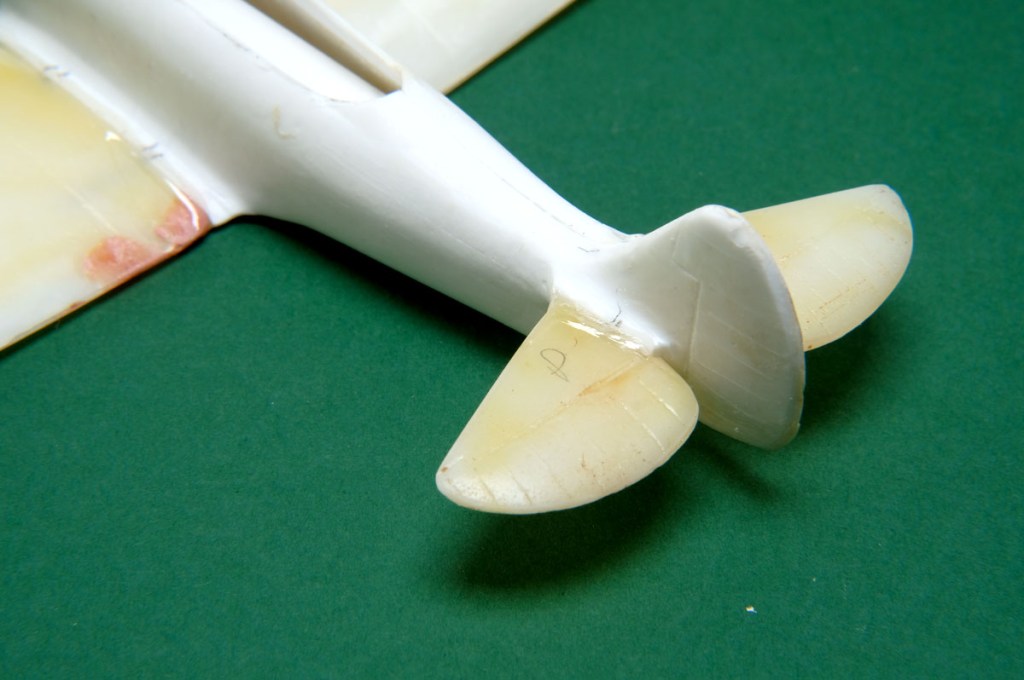
Note a special case here: The Mr Hobby cement was not going to do it. I resorted to Selley’s 5-minute Araldite.

Leave a comment