
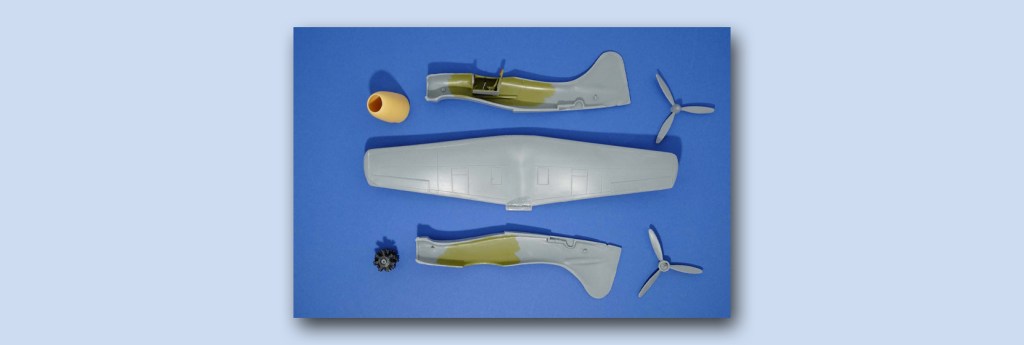
I was greatly encouraged while during open stage of fuselage construction by the fact that the two halves fitted together almost perfectly.
And the big, sturdy wing halves did the same – even the wing tips had minimal ledging. This can be a real problem for some kits as there is little to fill or sand, yet it can be wrong on many levels. So far so good – even the resin nose separated from its casting block without splitting.
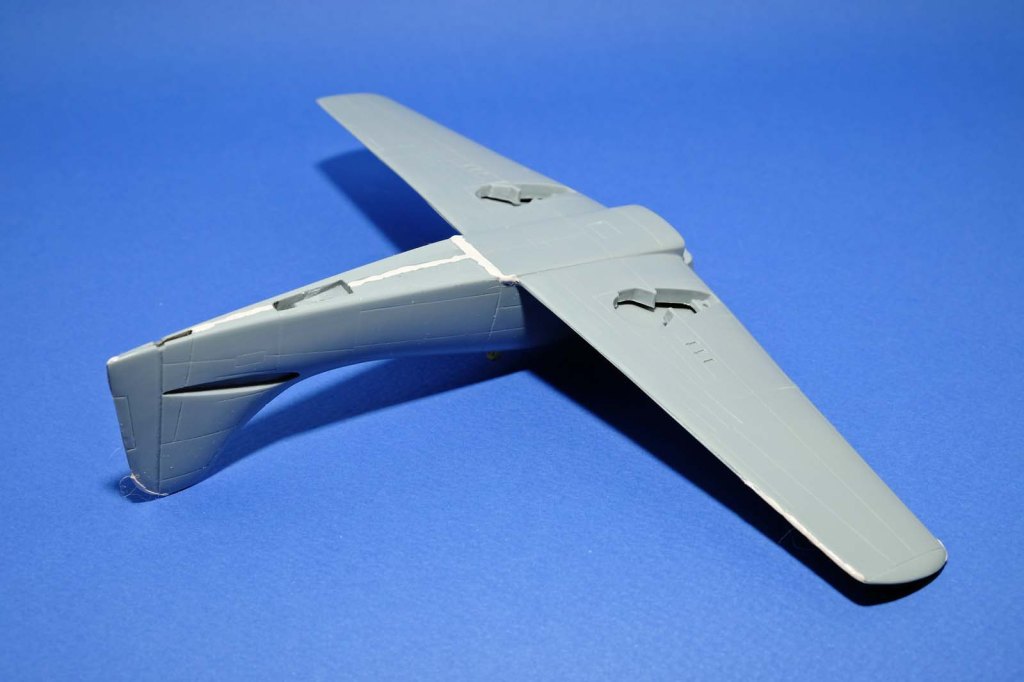
So I cemented the sides together and clamped the wing parts, waited for the set, smoothed the seams, and offered them to each other. I think one part was made by the Republicans and one part was made by the Democrats…The only plus side was that there was a good deal of plastic that could be carved out or sanded down, and if the surfaces ever met, there would be an immense cement bond.
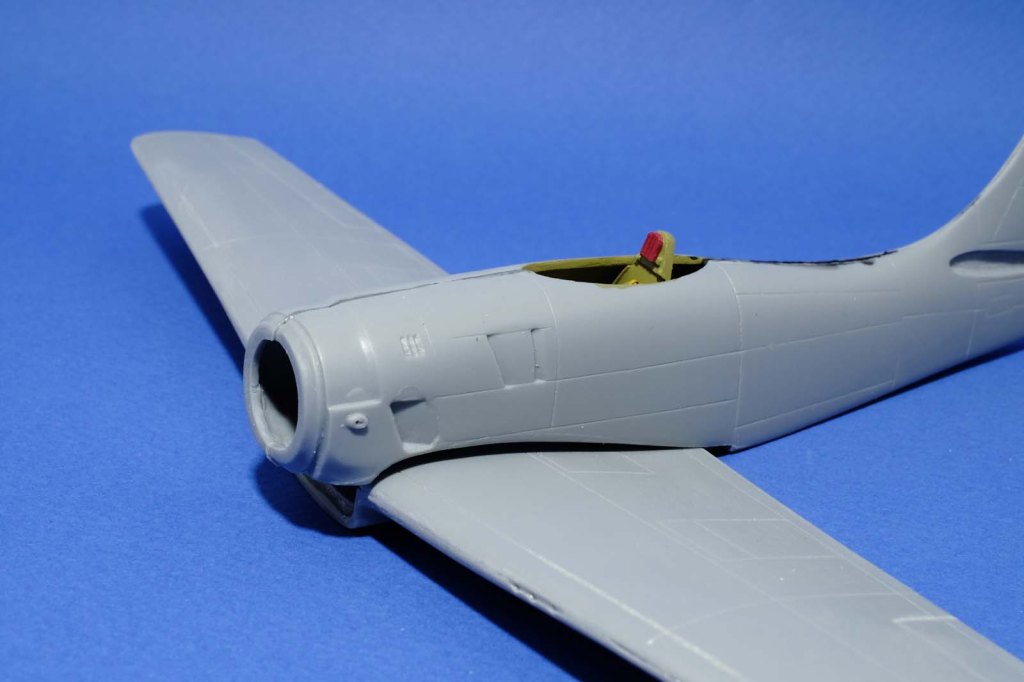
Even after major surgery, there was a major gap – fortunately the new plastic sprue goo could be ladled into it and left overnight. This is always a delicate place on an aircraft, and needs careful filing and smoothing to get a good seam. It’s almost worth grinding a set of left and right hand scrapers especially for the area. Note to self to source some steel…

Rotating instruments are a temptation here, but the control needed goes beyond what a Dremel tool might do – a dental micromotor on a contra-angle handpiece with suitable burrs and rubber grinding tools would be the real go. It may be time to hit up the old dental catalogue and look for the cheapest option.

Leave a comment