
Category: subassembly
-
Curtiss H16 – Part Three – Complexosity
Or should that be confusediousness? English is sometimes so inadequate… The Roden people are nothing if not determined. – possibly to drive me blind or mad. They have moulded many tiny parts so that I can assemble them into slightly larger parts. These can then be lost down the back of the workbench. No modeller…
-
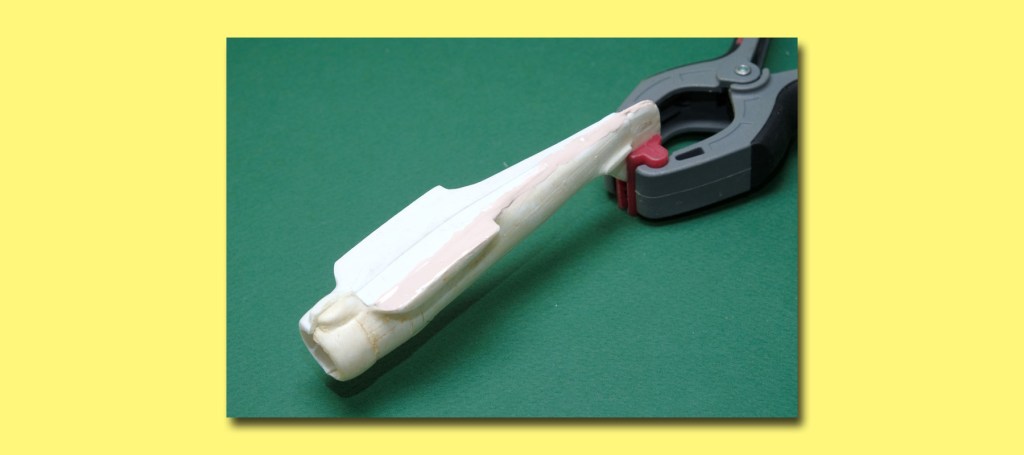
Swedish NA-16 – Part Four – Pinning Your Hopes

When all else fails, reach for the drill… Sorry, old habits die hard. Actually that should be reach for the forceps and slide that bucket over here. Open wide. The butt joint wing or tail surfaces are the easy way out for many short-run kit designers. They imagine you will square up the fitting surfaces…
-
Swedish NA-16 – Part Three – Dr. Phil
Not the TV chap – I’m thinking this kit should have been built by the famous Irish dentist: Dr. Phil McCavity. Six separate applications and removals of two grades of putty plus a styrene sheet fitted to the worst of the gaps. All done in a cheerful frame of mind and without the aid of…
-
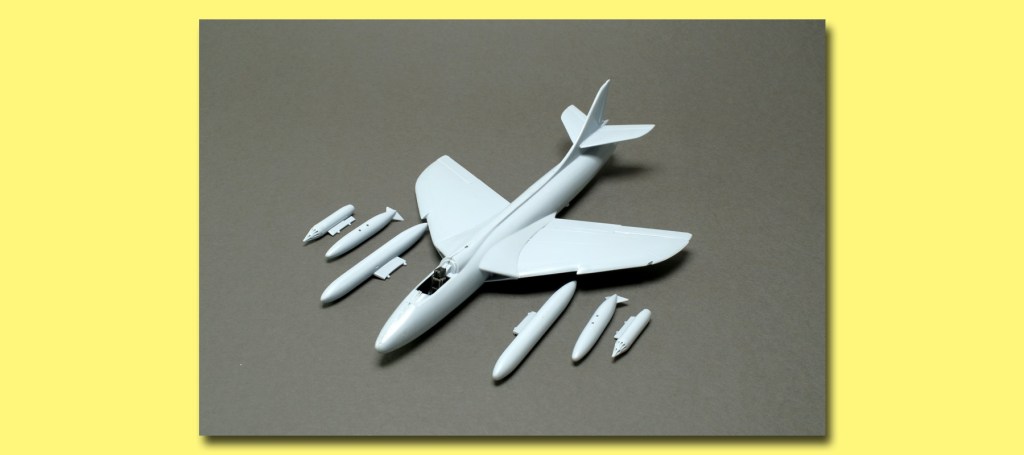
Straight Out of The Aftermarket Box
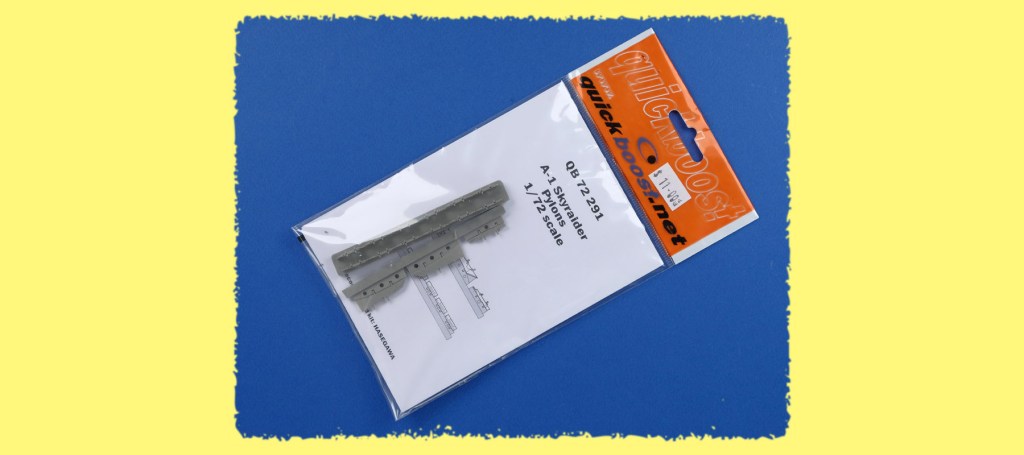
Or not, as the case may be… The decision of whether to use aftermarket parts or just what is in the kit box is often a hard one to make. It’s one of the marvels of the age we live in that we have this choice. At one time there was nothing between the Airfix…
-
Aero Vodochody Delfin – Part Two – If You Call For Your Czech Early

You don’t have to leave a tip. A morning at my scale modelling club begins with 45-60 minutes on the road – coping with a series of traffic lights and a clogged-up river bridge. It is wearisome but I figure you have to pay for your pleasures somehow. The comes up to 3 hours of…
-
Ansaldo SVA 5 – Part Two – López De Media Cara

Or, in English, half-face Lopez. Because that is all this little 1:50th Spaniard has – his body is moulded well and he has a uniform, flying boots, and a helmet, but half his face is still in the mould. Just as well that he has been depicted facing to Port – the deformity is masked.…
-
Hawker Hunter FGA 9 – Part Two – One Day…
My Prince will come… Oh, wait, that was Disney; this is Airfix. Well the Hunter at dry fit was one of the best experiences in the hobby. Not a bit of flash and the locating pins were in just the right position. It snapped together at the club so satisfyingly that I could just get…
-
Fairchild Argus – Part Four – Struttin’
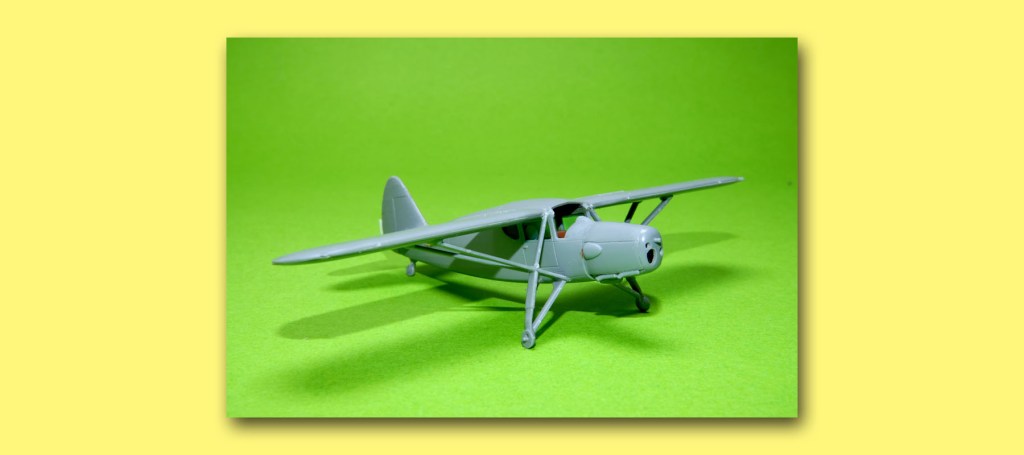
An’ not wid no barbeque… I hope some readers are old enough to get that one. And I hope it gets past the social media censors. In any case, In any case the struts and braces on this Argus have come out splendidly. Not for lack of work, I might add – the wing braces…
-
Fairchild Argus – Part Three – Outside
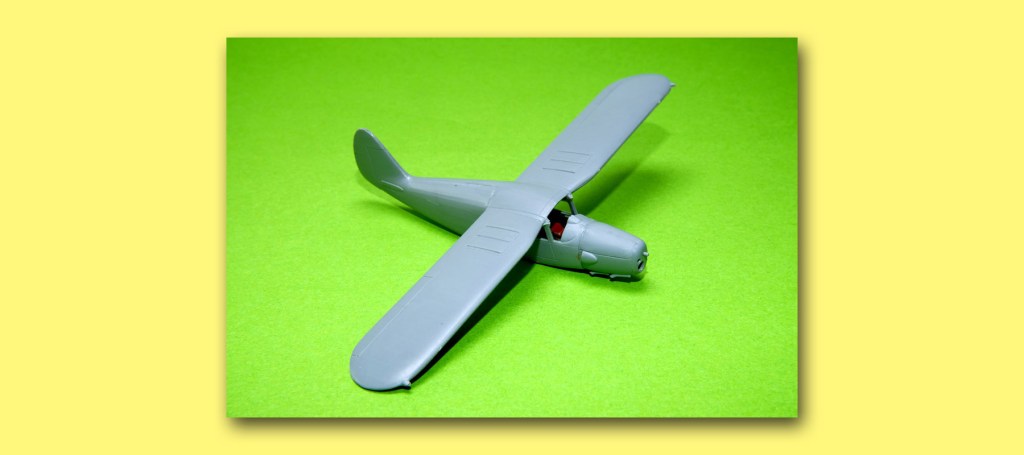
There are a lot more pictures of the exteriors of WW1 and WW2 aircraft because outside is where they kept the sunlight. The films were a lot less sensitive than modern day equivalents. At this stage of the build, KP have encouraged me greatly – the fuselage halves went together with no gaps whatsoever and…
-
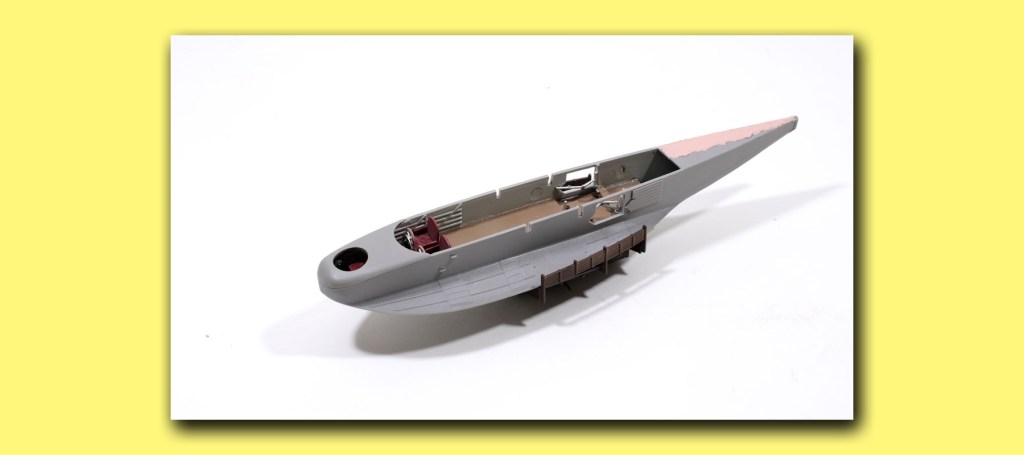
Sikorsky H-19 – Part Three – Squish
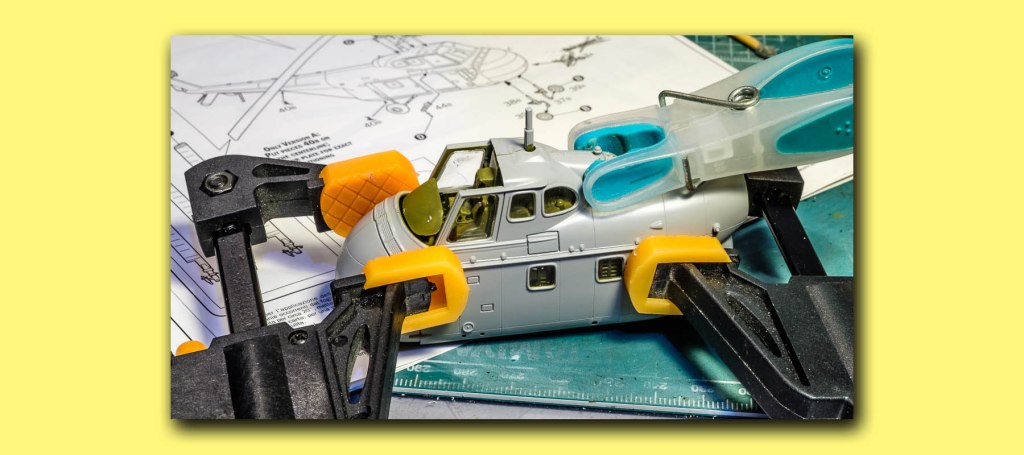
I don’t know if joining the two hull halves is a stressful time for ship modellers. Listening to the noise from the bench at my scale model club would suggest that it is. I can feel their pain – I experience some of it each time I join two fuselage halves. Depending upon where the…
